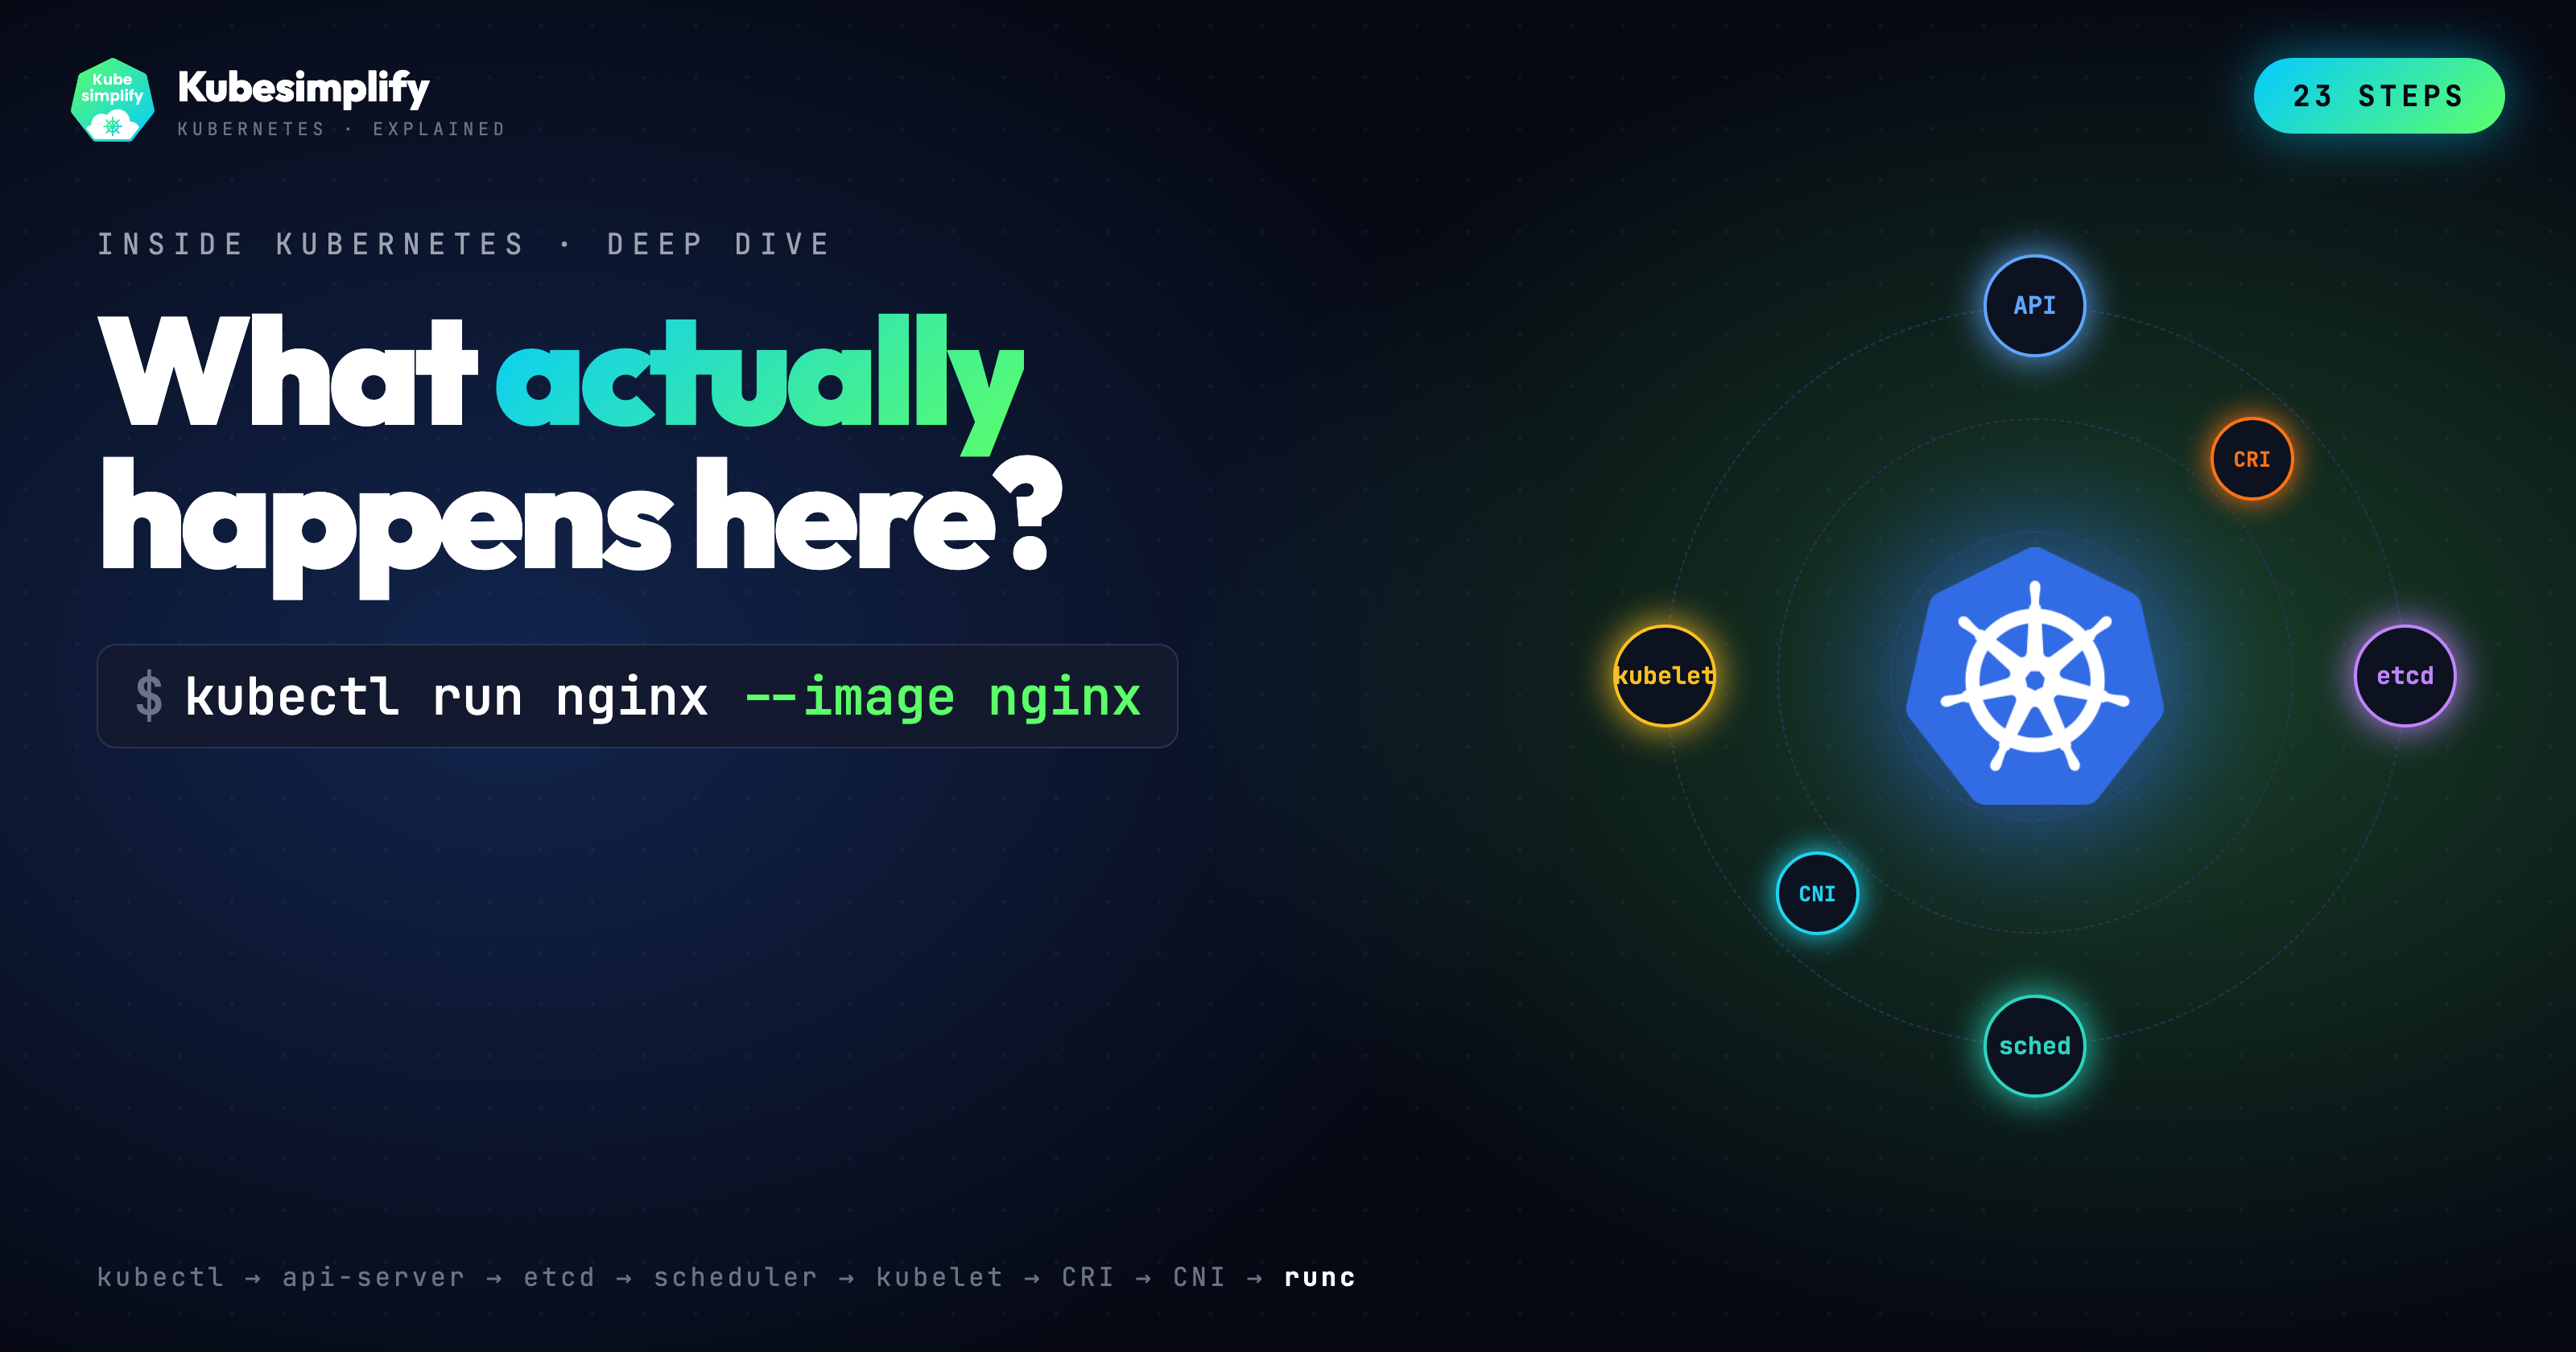
What Actually Happens When You Run kubectl run nginx
Every step of what happens when you run kubectl run nginx on Kubernetes. From argv to etcd Raft, scheduler, CRI, CNI, runc, and PLEG.
On this page (32)
- TL;DR, the 23 steps
- Setting the stage
- Phase 1, the client side (kubectl)
- Step 1: kubectl parses your command
- Step 2: Reading kubeconfig
- Step 3: TCP plus TLS 1.3 handshake
- Step 4: HTTP/2 POST to the API server
- Step 5: Request lands at the API server
- Phase 2, the API server gate
- Step 6: Authentication, "who are you?"
- Step 7: Authorization, "can you do this?"
- Step 8: Mutating admission
- Step 9: Schema validation
- Step 10: Validating admission
- Step 11: etcd plus Raft quorum
- Step 12: 201 Created
- Phase 3, the control loop hands off
- Step 13: Watch fanout
- Step 14: Scheduler, Filter
- Step 15: Scheduler, Score
- Step 16: Scheduler, Bind
- Phase 4, the kubelet brings the pod to life
- Step 17: Kubelet SyncPod
- Step 18: CRI, sandbox and the pause container
- Step 19: CNI, pod gets networking
- Step 20: Image pull
- Step 21: Container create
- Phase 5, runc, namespaces, and the first breath
- Step 22: runc
- Step 23: PLEG and the Running status
- Further reading
- Watch and play
So you type kubectl run nginx --image nginx. One line, one pod. About a second later on a warm cluster, the pod is Running. But what actually happens behind the scenes? Let us walk through it, step by step, step by step.
https://www.youtube.com/watch?v=LLuUhU3SwJo&t=4s
TL;DR, the 23 steps #
-
kubectlparses argv and builds a minimal Pod object. -
It reads
~/.kube/configfor cluster, user, and context. -
A TCP connection is opened to the API server. TLS 1.3 negotiates keys in one round trip with mutual cert auth.
-
kubectlsendsPOST /api/v1/namespaces/default/podswith a JSON body over HTTP/2. -
The API server authenticates the caller (x509, bearer token, OIDC, or webhook).
-
It authorizes the request against RBAC. Can this user create pods in default?
-
Mutating admission runs.
ServiceAccountinjects a projected token volume,LimitRangerfills in default requests and limits, and so on. -
The API server defaults missing fields (DNS policy, restart policy, termination grace period) and then validates against the OpenAPI schema.
-
Validating admission runs.
ResourceQuota,PodSecurity, anyValidatingAdmissionWebhook, and the built inValidatingAdmissionPolicyCEL engine (GA since 1.30). -
The API server writes to etcd via Raft. Leader replicates, followers fsync, a majority acks, and only then does the pod exist.
-
The API server returns
201 Created.kubectlprintspod/nginx created. -
Watch fanout. Every component holding an open watch stream (scheduler, kubelets, controllers) is notified within milliseconds.
-
The scheduler runs Filter plugins.
NodeResourcesFit,NodeAffinity,TaintToleration,PodTopologySpread,VolumeBinding. -
It runs Score plugins.
NodeResourcesBalancedAllocation,ImageLocality,InterPodAffinity,NodeAffinity. -
The winning node gets picked. Scheduler POSTs to
/pods/nginx/binding, which updatesspec.nodeName. One more etcd write. -
The kubelet on that node sees the bound pod through its watch.
syncPodfires. -
Kubelet calls the container runtime over CRI (
RunPodSandbox). containerd creates the pause container, PID 1, callingpause(2)and holding the pod's network namespace. -
The CNI plugin (Calico, Flannel, Cilium, your choice) runs ADD. It creates a veth pair, allocates an IP from the pod CIDR, programs routes.
-
Image pull. containerd fetches the manifest, then the layers, verifying each with SHA-256.
-
Container create. The runtime stacks image layers with overlayfs, writes the OCI runtime spec, and asks runc to create.
-
runc takes over.
clone3with namespace flags (PID, mount, UTS, IPC),setnsinto the sandbox's network namespace, mount/proc,pivot_root, drop capabilities, apply the seccomp filter,execvenginx. -
Kubelet's PLEG notices the container started. Most clusters still poll the runtime every second. Evented PLEG is the newer event stream version but it is still alpha in 1.36, so don't assume it is on.
-
The status manager patches
pod.statusto Running back to the API server. Done.
Setting the stage #
I teach Kubernetes on the Kubesimplify YouTubeouTube channel, and I still get asked the same question in workshops. What actually happens when I run kubectl run? Most answers stop at "the API server writes to etcd and the scheduler picks a node." That is true, but it is the one line summary of a story that has twenty-three chapters.
So this post is the long form of the six-minute video I just shipped, paired with an interactive site you can scrub through step by step. If you are a platform engineer who already knows what a pod is, my goal is that by the end of this you can name the plugins, the syscalls, the admission chain order, and the CRI calls. And you should be able to point at the Kubernetes source tree when you need to go deeper.
Everything below is checked against Kubernetes 1.36.0, which shipped on April 22, 2026. Where a feature gate matters, I call the version out explicitly.
Phase 1, the client side (kubectl) #
Step 1: kubectl parses your command #
kubectl run is a subcommand whose job is to take sparse user input and build a valid Pod object. The code lives in staging/src/k8s.io/kubectl/pkg/cmd/run/run.go. For kubectl run nginx --image nginx, the object kubectl builds locally is roughly this.
apiVersion: v1
kind: Pod
metadata:
  name: nginx
spec:
  containers:
    - name: nginx
      image: nginx
So notice what is not there. No restartPolicy, no dnsPolicy, no terminationGracePeriodSeconds, no serviceAccountName, no imagePullPolicy. kubectl deliberately sends a minimal object. All those fields are filled in by the API server during defaulting, which happens after admission and before validation. This is the first real insight. The object you POST and the object etcd ends up storing, they are not the same.
Step 2: Reading kubeconfig #
kubectl needs to know where to send the request. It reads ~/.kube/config (or whatever $KUBECONFIG points at) and resolves three things. The cluster (API server URL, CA bundle), the user (client certs, token, exec plugin), and the context (which cluster and user pair plus a default namespace). The logic sits in client-go/tools/clientcmd. If you run kubectl --v=8, you can watch this resolution happen inline.
Step 3: TCP plus TLS 1.3 handshake #
kubectl opens a TCP connection to the API server on port 6443 and runs a TLS 1.3 handshake. TLS 1.3 is important here. It negotiates keys in a single round trip (TLS 1.2 needed two), and it does so with mutual authentication when you are using a client certificate. Both sides present certs, both sides verify against a CA. Same primitives your browser uses, nothing exotic. But worth noticing because every subsequent byte rides this mTLS tunnel.
Step 4: HTTP/2 POST to the API server #
kubectl serializes the pod object to JSON, not YAML. YAML is a client side convenience, the wire format is JSON by default. Then it sends POST /api/v1/namespaces/default/pods over HTTP/2. Content-Type is application/json. HTTP/2 matters because all the watch streams later in the story will multiplex over the same connection.
Step 5: Request lands at the API server #
The request hits kube-apiserver. The code path is the generic API server filter chain in staging/src/k8s.io/apiserver/pkg/server/filters. Every inbound request goes through the same stack of filters in order. Panic recovery, request deadline, auditing, authentication, impersonation, authorization, admission, validation. Most of the next phase is those filters.
Phase 2, the API server gate #
Step 6: Authentication, "who are you?" #
So the API server asks the first question. Who are you? The API server has four authenticator backends chained together. x509 client certificates, bearer tokens (static, service account, or OIDC), OIDC directly (with JWT verification against the configured issuer), and authentication webhooks (the TokenReview API). The first one that returns a positive identity wins.
For kubectl with a standard kubeconfig, you are usually on x509. The cert you presented in the TLS handshake is reused to populate user.Info with the CN as the username and the O values as groups. Code: staging/src/k8s.io/apiserver/pkg/authentication.
Step 7: Authorization, "can you do this?" #
With identity established, the next question. Can this user perform create on the resource pods in the namespace default? The default authorizer is RBAC, backed by Role, ClusterRole, RoleBinding, ClusterRoleBinding objects. Multiple authorizers can be chained. In managed clusters you will often see Node,RBAC. The Node authorizer restricts what a kubelet can ask for, RBAC handles everything else. A single "allow" is enough. Explicit denies don't exist in RBAC.
Step 8: Mutating admission #
This is the fun one. Mutating admission plugins run first, before schema validation, and they are allowed to change the object. Built-in mutators that fire for a pod create include:
-
ServiceAccount. Injects the projected service account token volume and theautomountServiceAccountTokendefault. -
DefaultStorageClass,DefaultTolerationSeconds,PodNodeSelector,RuntimeClass, depending on cluster config. -
LimitRanger. Applies defaultresources.requestsand limits when aLimitRangeexists in the namespace. -
Every
MutatingAdmissionWebhookyou have registered. Service meshes like Istio inject their sidecar here. -
MutatingAdmissionPolicy. The CEL based in-process alternative to webhooks. This went GA (v1) in 1.36, so you no longer need a feature gate for the stable path.
Each plugin runs sequentially. The order that ships in the API server defaults matters. ServiceAccount before LimitRanger, for example. Source: plugin/pkg/admission in kubernetes/kubernetes.
Step 9: Schema validation #
After mutation, the API server defaults remaining missing fields (restartPolicy: Always, dnsPolicy: ClusterFirst, terminationGracePeriodSeconds: 30, serviceAccountName: default) and validates the now complete object against the OpenAPI v3 schema published at /openapi/v3. Invalid names, empty required fields, wrong field types, all rejected here with a 422 Invalid.
Step 10: Validating admission #
Validating admission is a second admission pass that cannot mutate. Built-ins include:
-
ResourceQuota. Do the namespace's quotas have room for this pod's requests? -
PodSecurity. Does the pod meet the restricted, baseline, or privileged profile the namespace is labeled with? -
Every
ValidatingAdmissionWebhookyou have registered. -
ValidatingAdmissionPolicy. CEL based in-process validation, GA since 1.30. A great replacement for Kyverno or OPA in many cases.
So here is the subtle bit. Mutating admission runs before validating admission. If a user's webhook mutates a field, the validating chain sees the mutated value, not the original. This ordering is easy to get wrong in your head, and it matters when you are writing policy.
Step 11: etcd plus Raft quorum #
Now the API server persists the pod. This is not a plain disk write. etcd is a Raft replicated key value store. The leader appends the entry to its Raft log, replicates to followers, each node fsyncs to disk, and only after a majority (3 of 5 in a typical HA setup) acks does the leader commit. The API server's storage layer blocks on that commit.
So if you ever see API latency spike, it is almost always etcd disk latency. Check etcd_disk_wal_fsync_duration_seconds. This is really, really important to know when you are debugging a slow cluster.
Step 12: 201 Created #
The API server responds 201 Created with the full defaulted and mutated pod object in the body. kubectl prints:
pod/nginx createdFrom your terminal's perspective, it is done. From the cluster's perspective, the real work has not started.
Phase 3, the control loop hands off #
Step 13: Watch fanout #
Every long running component in Kubernetes holds an HTTP/2 watch stream to the API server. The scheduler watches unscheduled pods. Every kubelet watches pods bound to its node. Controllers watch their respective resources.
So when a new pod is written to etcd, the API server's watch cache broadcasts the event to all subscribers. No polling, no round trips, just a chunked HTTP/2 frame per event. Milliseconds. Source: staging/src/k8s.io/apiserver/pkg/storage/cacher.
Step 14: Scheduler, Filter #
kube-scheduler receives the event. The pod has no spec.nodeName, so it is scheduler's problem. The scheduler runs a configurable pipeline of plugins, grouped into extension points. PreFilter, Filter, PostFilter, PreScore, Score, Reserve, Permit, PreBind, Bind, PostBind. For filter:
-
NodeResourcesFit. The node has enough allocatable CPU, memory, and ephemeral storage for the pod's requests. -
NodeAffinity. The pod'snodeAffinityandnodeSelectormatch the node's labels. -
TaintToleration. The pod tolerates the node's taints. -
PodTopologySpread. The placement respects any topology spread constraints. -
VolumeBinding. All unbound PVCs can be bound to volumes reachable from this node. -
InterPodAffinity(at the filter level for hard constraints).
Any node that fails any filter is eliminated. Plugin source: pkg/scheduler/framework/plugins.
Step 15: Scheduler, Score #
Surviving nodes get scored by a second set of plugins.
-
NodeResourcesBalancedAllocation. Prefers nodes with balanced CPU and memory utilization, so you don't pack a CPU heavy pod onto an already CPU saturated node. -
ImageLocality. Prefers nodes that already have the container image cached locally. This saves image pull time. -
InterPodAffinity. Soft affinity and anti-affinity preferences. -
NodeAffinity. Soft (preferred) affinity terms. -
TaintToleration. Soft toleration scoring.
Each plugin returns a score 0 to 100 per node. Scores are normalized, weighted, and summed. Highest total wins. Ties are broken with a random pick using Go's rand.Int().
One thing to flag here. Kubernetes 1.36 graduated Dynamic Resource Allocation (DRA) to GA. If you are scheduling GPU workloads or other devices through DRA, the scheduler's resource claim handling is now stable. Worth reading the KEP if you are running AI workloads.
Step 16: Scheduler, Bind #
The scheduler POSTs to the binding subresource. POST /api/v1/namespaces/default/pods/nginx/binding with target.name=node-1. This is what actually updates spec.nodeName in etcd. One more Raft write.
So here is a fun detail. The scheduler never writes spec.nodeName directly on the pod. It always goes through binding. This exists precisely because binding is a separate privilege you can RBAC.
Phase 4, the kubelet brings the pod to life #
Step 17: Kubelet SyncPod #
Kubelet on the bound node has been watching pods?fieldSelector=spec.nodeName=node-1 since startup. It sees the update, runs its pod admission checks (eviction pressure, kubelet level PodSecurityContext sanity), and calls syncPod in pkg/kubelet/kubelet.go. SyncPod is the reconciliation loop. It compares the desired pod spec with the current runtime state and issues CRI calls to bring them into alignment.
Step 18: CRI, sandbox and the pause container #
Before any app container runs, the kubelet creates a pod sandbox. It calls RunPodSandbox over the CRI gRPC API on the runtime's socket (/run/containerd/containerd.sock by default). containerd launches the pause container. A tiny statically linked binary whose entire job is to call pause(2) and block forever as PID 1.
But why? Because the pause container is what owns the pod's Linux namespaces, especially the network namespace. When you add more containers to the pod, they setns into the pause container's namespaces. If an app container dies and restarts, the namespaces (and the IP) survive because pause is still there.
Step 19: CNI, pod gets networking #
With the sandbox up, the runtime invokes the CNI plugin specified in /etc/cni/net.d/*.conflist (whichever is lexically first). Calico, Flannel, Cilium, Weave, the plugin you installed. CNI's contract is simple. A binary that reads JSON from stdin, takes an action (ADD, DEL, CHECK), and returns JSON to stdout. The ADD call:
-
Creates a veth pair. One end in the pod's network namespace, one end on the node.
-
Allocates an IP from the pod CIDR. IPAM is either a local store, Kubernetes IPAM, or an external controller.
-
Programs routes and iptables or eBPF rules on the host.
-
Optionally sets up sysctls inside the pod's netns.
When this returns, kubectl get pod -o wide will start showing podIP.
Step 20: Image pull #
Kubelet calls PullImage over CRI. containerd resolves the reference (nginx to docker.io/library/nginx:latest), fetches the manifest, then pulls each layer in parallel, verifying SHA-256 digests on every chunk. First pull for a popular image over broadband is a few seconds. Cached? About 100 ms. containerd just revalidates the manifest and returns.
Step 21: Container create #
With the image unpacked, the runtime assembles the container.
-
Stacks the image layers as read only lower layers and adds a writable upper layer using overlayfs. The result is the container's rootfs.
-
Writes the OCI runtime spec (
config.json). A JSON document describing every mount, every namespace flag, every capability, the seccomp profile, the apparmor profile, the cgroup limits, the user, the entrypoint. -
Creates a bundle directory containing the rootfs and
config.jsonand hands it to runc withrunc create.
OCI runtime spec lives in the opencontainers/runtime-spec repo. This is the same spec Podman, CRI-O, and gVisor use. It is the portability boundary.
Phase 5, runc, namespaces, and the first breath #
Step 22: runc #
So this is the single coolest part of the whole pipeline. runc takes the bundle and does the following.
-
Calls
clone3with flagsCLONE_NEWPID | CLONE_NEWNS | CLONE_NEWUTS | CLONE_NEWIPC. On a modern kernel,clone3is preferred over the olderclonebecause it takes a structured argument and supports more namespace flags cleanly. The network namespace is not created here. Instead, runc usessetnsto enter the sandbox's network namespace that CNI created earlier, so the new container shares the pod IP. -
Inside the new process, mounts
/procfor the new PID namespace. -
pivot_rootinto the overlayfs rootfs, then unmounts the old root. -
Drops Linux capabilities to the OCI spec's bounding set. The default for a non-privileged container is a tight whitelist. No
CAP_SYS_ADMIN, noCAP_NET_ADMIN. -
Applies the seccomp filter. The runtime default profile blocks around 40 syscalls, like
kexec_load, certainunshareflags, andbpfwithout capability. -
Joins the cgroup v2 hierarchy with the configured CPU and memory limits.
-
Calls
execveon the container's entrypoint,nginx -g daemon off;.execveis the syscall that replaces the current process image with a new program while keeping the PID. This is the moment nginx is alive.
If you strace -f runc during create, you will see this whole dance. It is worth doing once.
Step 23: PLEG and the Running status #
Kubelet needs to know the container started. Historically, kubelet's PLEG (Pod Lifecycle Event Generator) polled the runtime every second via ListContainers, diffed the result, and emitted events. On a big node with hundreds of pods, this was a measurable source of CPU load.
So there is a newer path called Evented PLEG. It opens a CRI event stream (ContainerEventsRequest) so containerd pushes events like CONTAINER_STARTED_EVENT and CONTAINER_STOPPED_EVENT as they happen. But here is the thing. Evented PLEG is still alpha in 1.36. It was alpha in 1.25, promoted to beta in 1.27, then reverted to alpha in 1.30 after a static pod bug. It is disabled by default. So if you are reading kubelet code today, assume the polling path is what is actually running on your cluster.
When kubelet sees a new container has started (through polling or evented), the status manager computes the pod's phase as Running and patches pod.status back to the API server via a JSON merge patch. Watchers (you, with kubectl get pod -w) see the transition. The status patch is also the signal to any controller waiting on this pod. For example, the endpoints controller, which is about to add the pod's IP to a Service's EndpointSlice.
And that is the whole journey. From argv[1] in your shell to nginx serving on port 80, about a second on a warm cluster.
Further reading #
-
kubernetes/kubernetes. The source tree. Start in
pkg/kubelet,pkg/scheduler,staging/src/k8s.io/apiserver. -
CRI spec. The gRPC contract between kubelet and the runtime.
-
CNI spec. The plugin contract for pod networking.
-
OCI runtime spec. The container bundle and config format runc consumes.
-
OCI image spec. Manifests, layers, and the SHA-256 content addressable model.
-
KEP-3386 Evented PLEG. The design doc for the CRI event driven PLEG, still alpha in 1.36.
-
kube-scheduler plugin docs. The official list of in-tree plugins and their extension points.
Watch and play #
-
Video (6 min): What Actually Happens When You Run kubectl run nginx (23 Steps) on the Kubesimplify YouTube channel.
-
Interactive site: kubernetes-explained.vercel.app/pod. Pause, scrub, jump to any step, copy the code for yourself.
So if you liked this, the next one in the series is the scheduler deep-dive. How kube-scheduler actually decides. Subscribe on the channel so you catch it, and tell me in the comments which step surprised you. That is how I know what to unpack next.
Saiyam is working as Head of DevRel at vCluster Labs. He is the founder of Kubesimplify, focusing on simplifying cloud-native & AI infrastructure. He is KubeCon Co-chair and has worked on many facets of Kubernetes, including machine learning platforms, scaling, multi-cloud, & managed Kubernetes services. When not coding, Saiyam contributes to the community by writing blogs and organizing local meetups for Kubernetes and CNCF. He is also a CNCF TAG OpsRes Chair & can be reached on Twitter @saiyampathak.
Get new posts in your inbox.
Spotted a typo or want to improve this post? Edit on GitHub →