


Kubernetes, over the years, has become the defacto standard for running containerized applications and it is also now growing in terms of running VM workloads side by side containers using the projects like KubeVirt. Running stateless workloads on Kubernetes is not the case these days, people are running databases and other stateful workloads on Kubernetes as well using persistent volume and persistent volume claim. In any case the need for Kubernetes backup and restore strategy should be in place from day1. You cannot wait for things to go wrong or data to get corrupted.
There are different solutions out there that can help you with your strategy but in this post, I will focus on CloudCasa. CloudCasa is a simple backup service that allows Kubernetes users to run CSI snapshots across unlimited clusters for free. Improves your cyber resilience by also delivering free vulnerability assessments on what you protect. Let me know if you want me to write a few posts on Kanister, Longhorn, Velero wrt Kubernetes backup.
Let us try to understand it with a complete end to end example.
Step 1 Creating CloudCasa account
Go to cloudcasa.io and hit Signup.

Enter all the details and click the signup button.
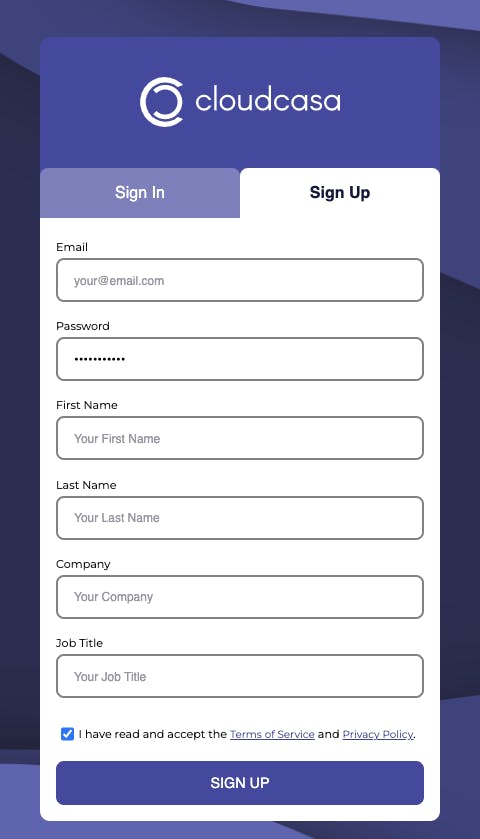
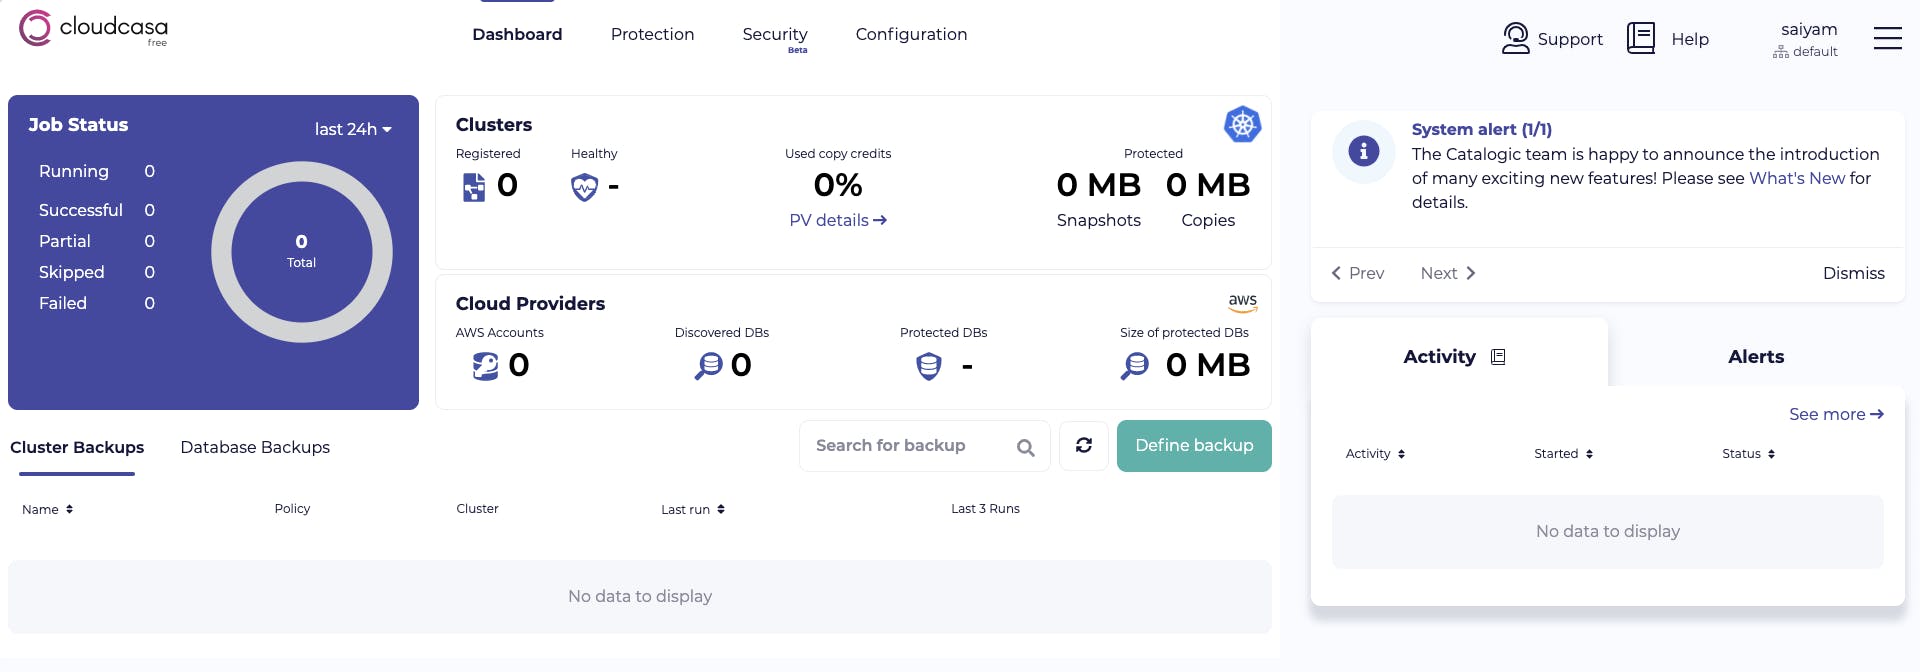
Verify the email and Login to get a fancy dashboard.
Step 2 Adding a cloud account
Now add a cloud account from the configuration section and create the stack.
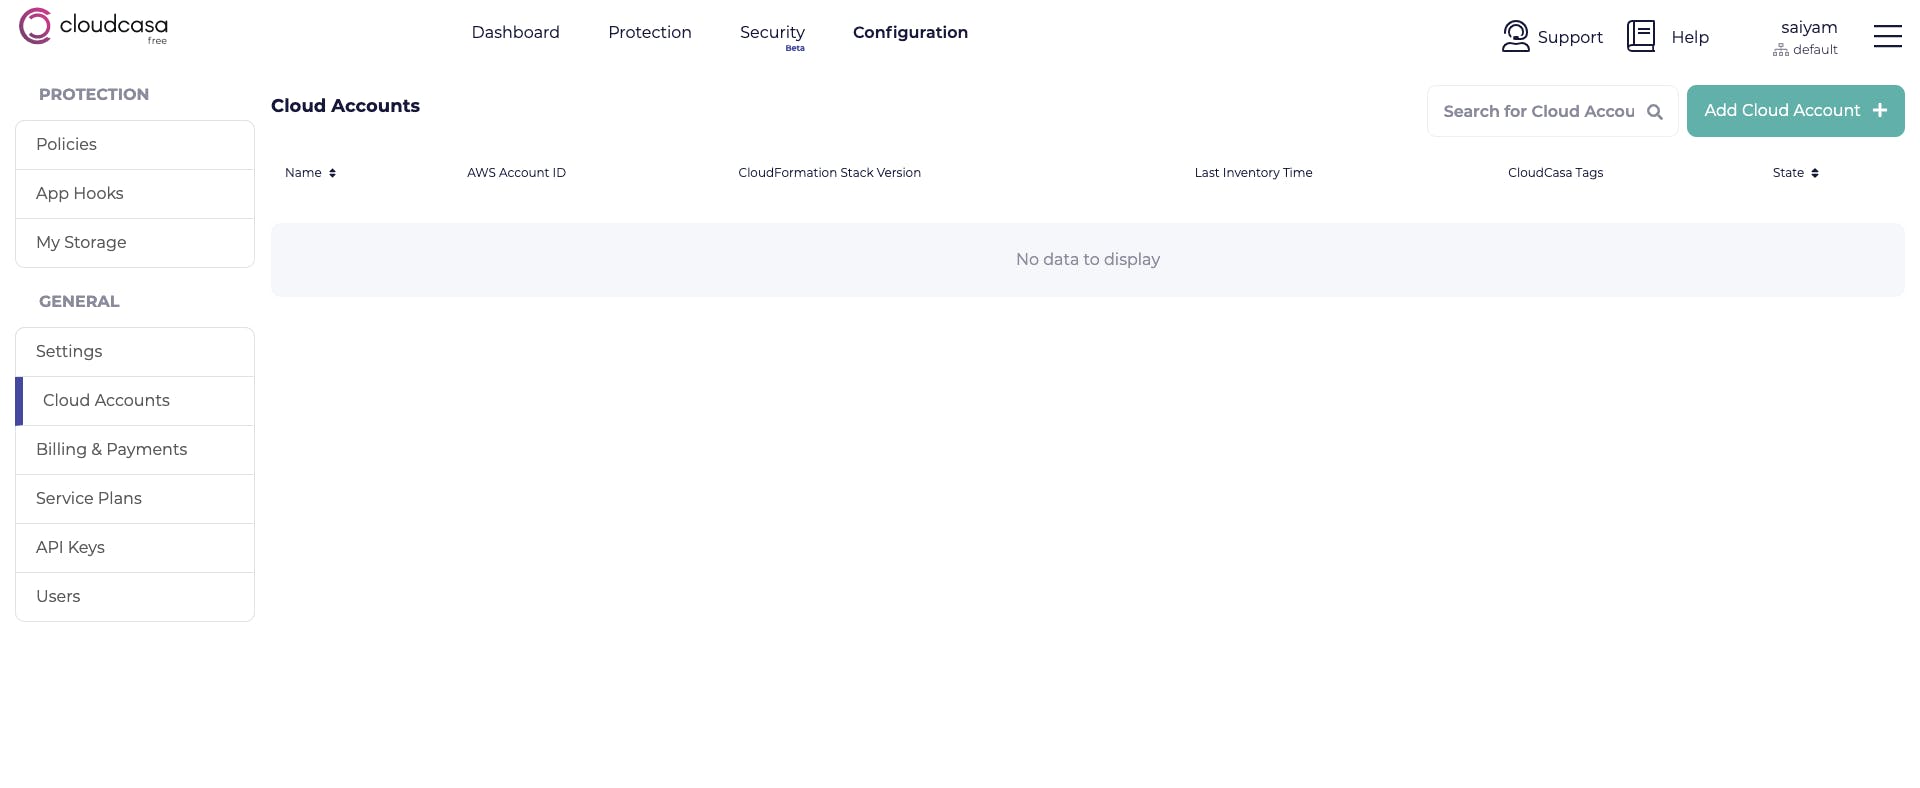
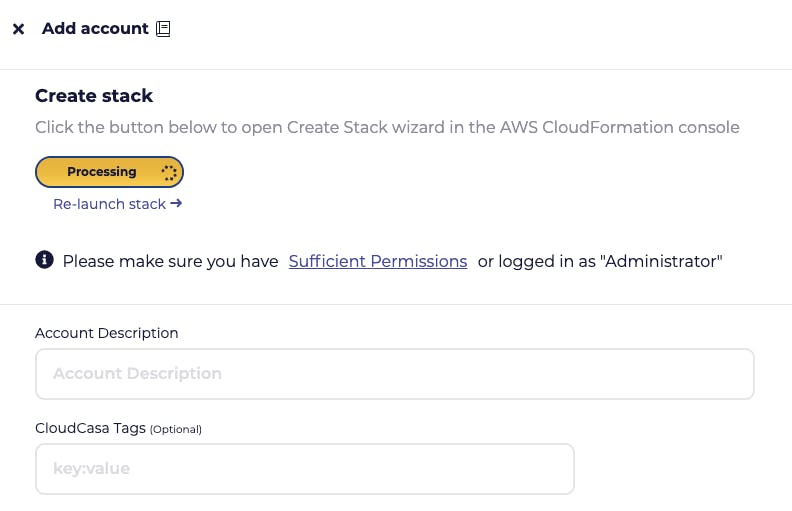
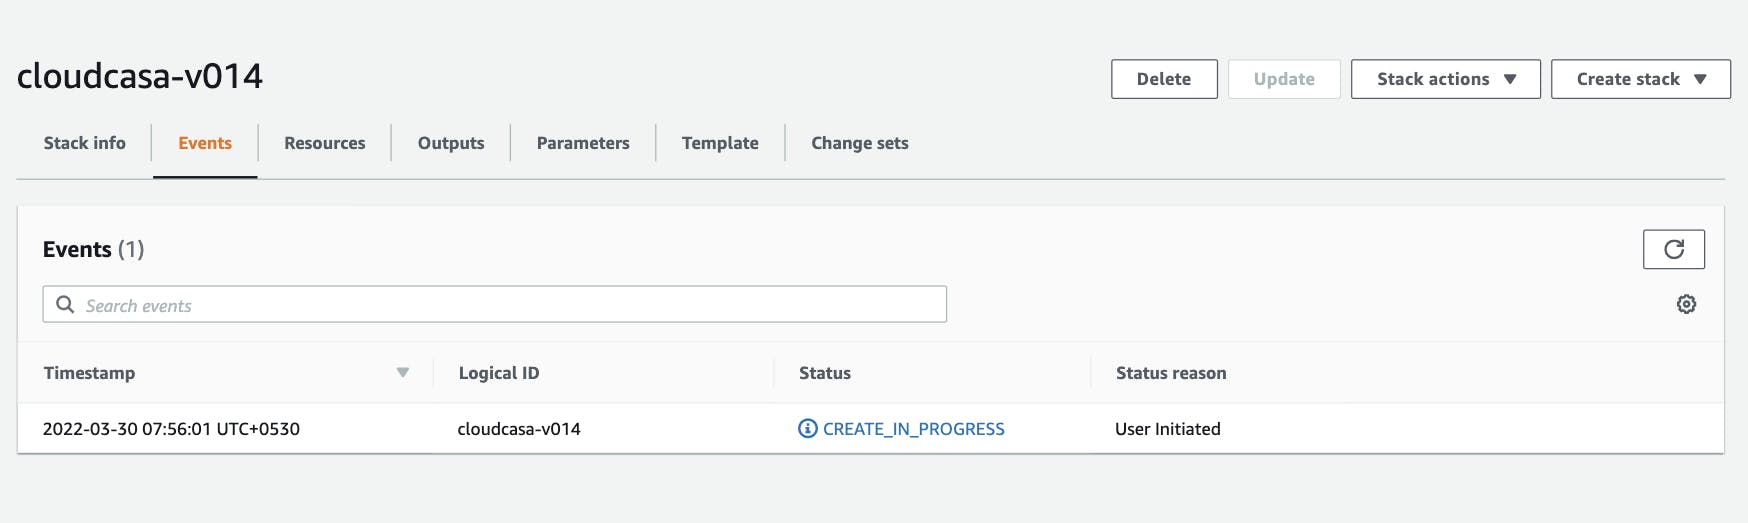
It will automatically open up the console and take you to the required page, create the stack and you should see it getting created.
After some time you will be able to see the stack created in your AWS account.
Step 3 Adding a cluster
Now let's add the cluster, you can manually add the cluster or select from the list of clusters that gets populated in your account from the cloud account that you added.
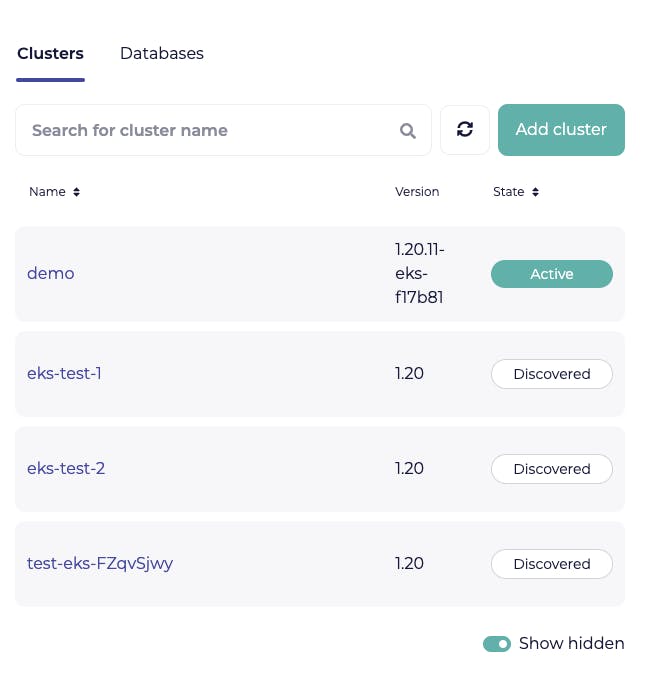
In this case, let's add a cluster to see that flow as well.

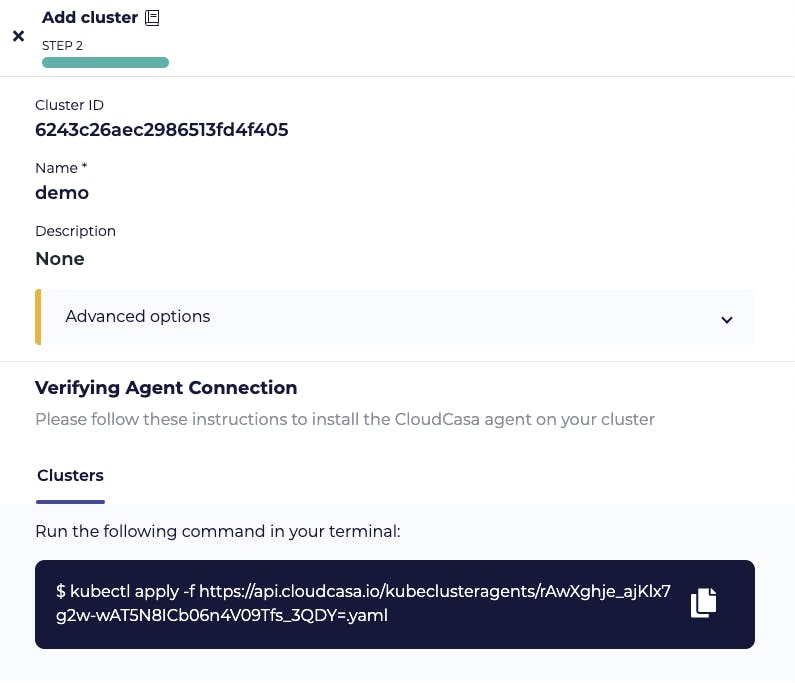
When you add the cluster, it gives out a command that needs to be run on the cluster to get the CloudCasa agent components to be installed into the cluster and take the necessary steps to backup/restore stuff.
Now I already have a cluster running
kubectl get nodes
NAME                         STATUS   ROLES    AGE   VERSION
ip-10-0-1-231.ec2.internal   Ready    <none>   12d   v1.20.11-eks-f17b81
ip-10-0-2-227.ec2.internal   Ready    <none>   12d   v1.20.11-eks-f17b81
ip-10-0-3-193.ec2.internal   Ready    <none>   12d   v1.20.11-eks-f17b81
Let's run the command that we got above
kubectl apply -f https://api.cloudcasa.io/kubeclusteragents/rAwXghje_ajKlx7g2w-wAT5N8ICb06n4V09Tfs_3QDY=.yaml
namespace/cloudcasa-io created
serviceaccount/cloudcasa-io created
clusterrolebinding.rbac.authorization.k8s.io/cloudcasa-io created
deployment.apps/cloudcasa-kubeagent-manager created
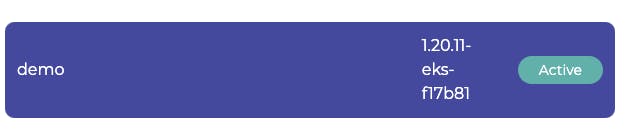
The agent is deployed and the cluster becomes active on the CloudCasa dashboard.
Step 4 - Define backups
Let's define the backup now.
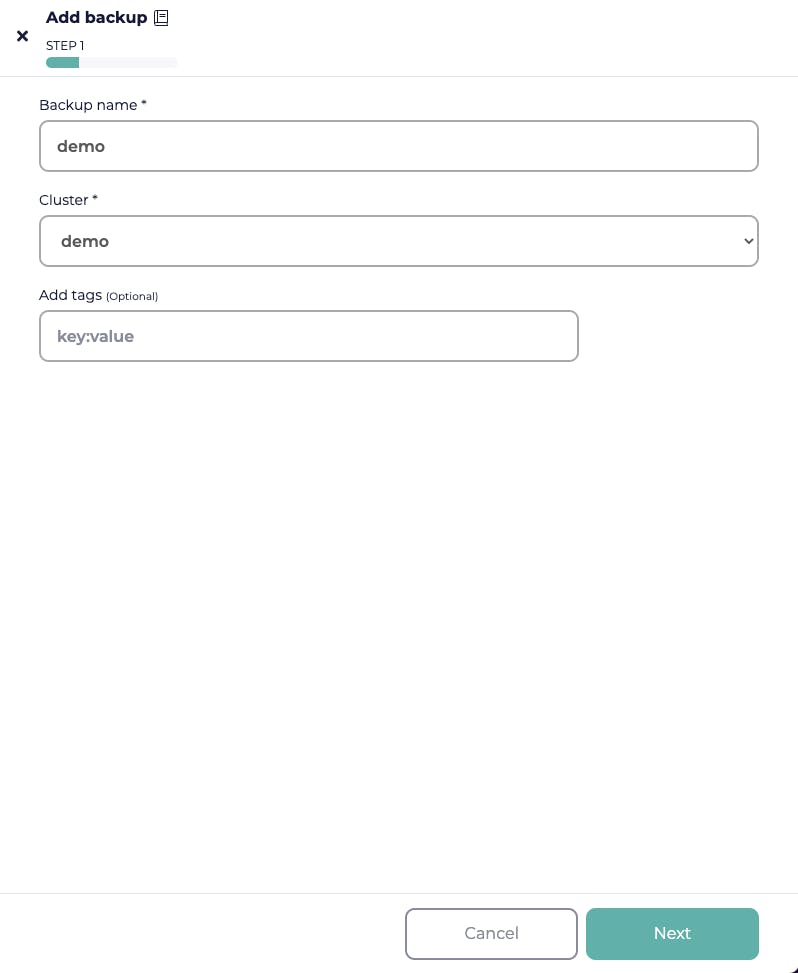
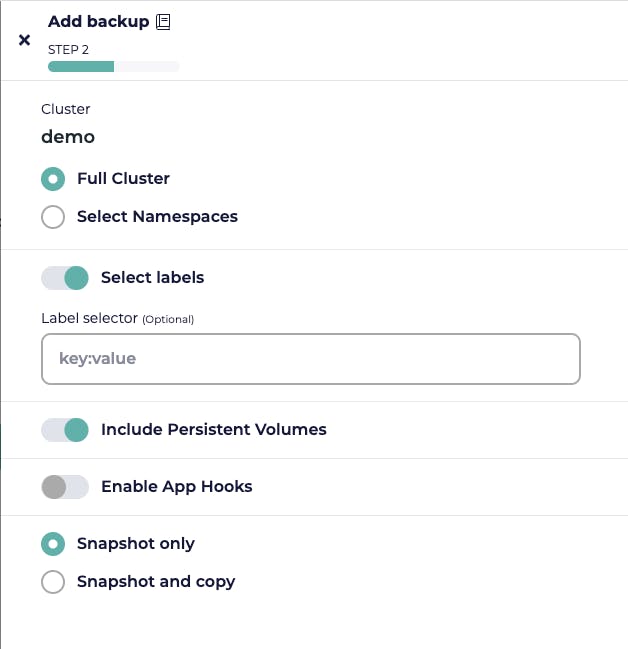
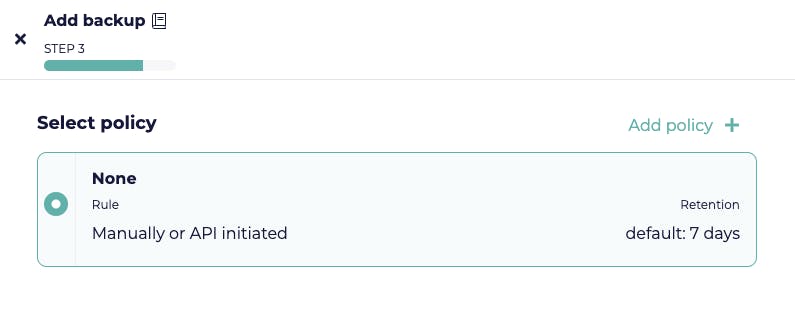
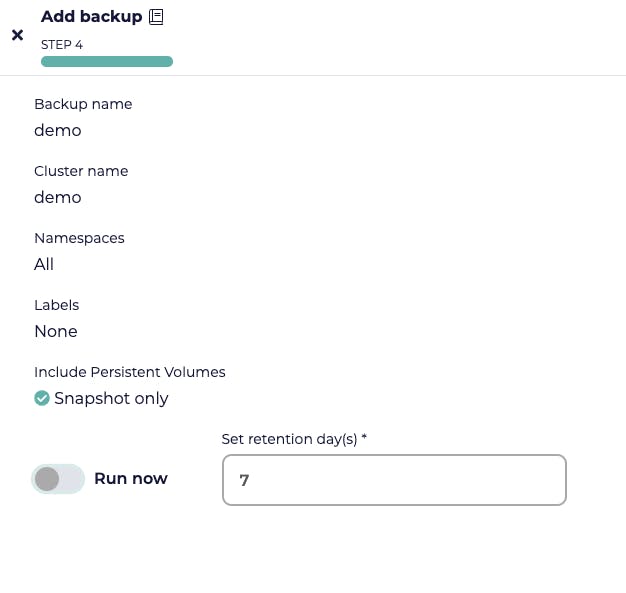
With a simple 4 step process, the backup is now defined.

The cluster has WordPress and MySQL installed already.
Step 5 - Running the backup
You can simply run the backup you created and see it in the activity area that it is running.
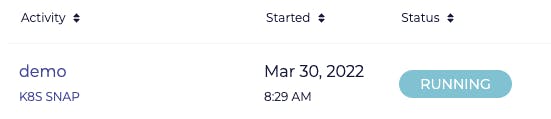
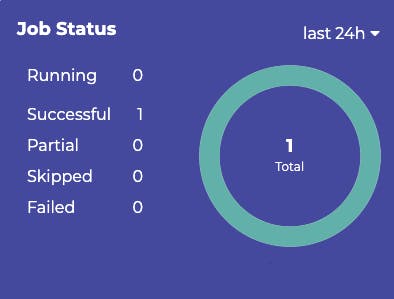
Notice the backup getting complete.
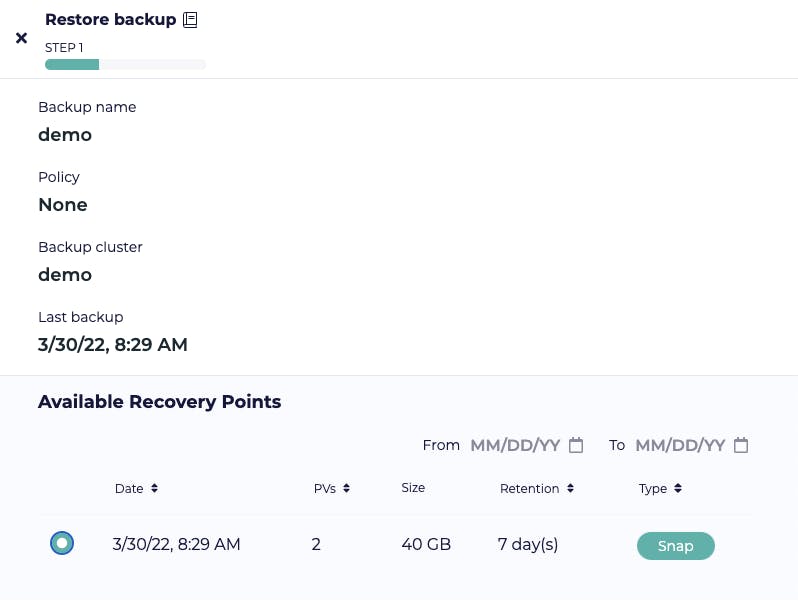
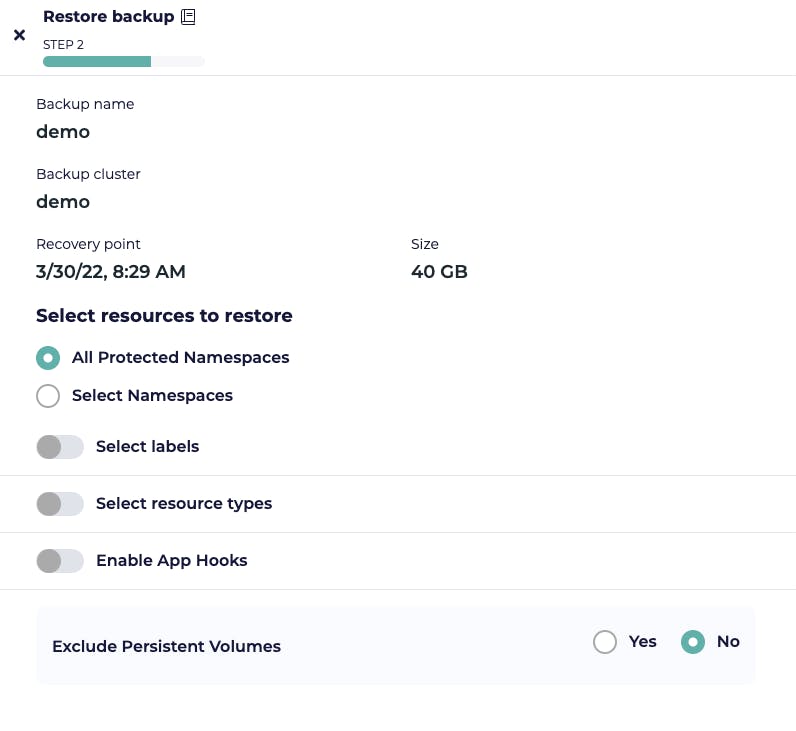
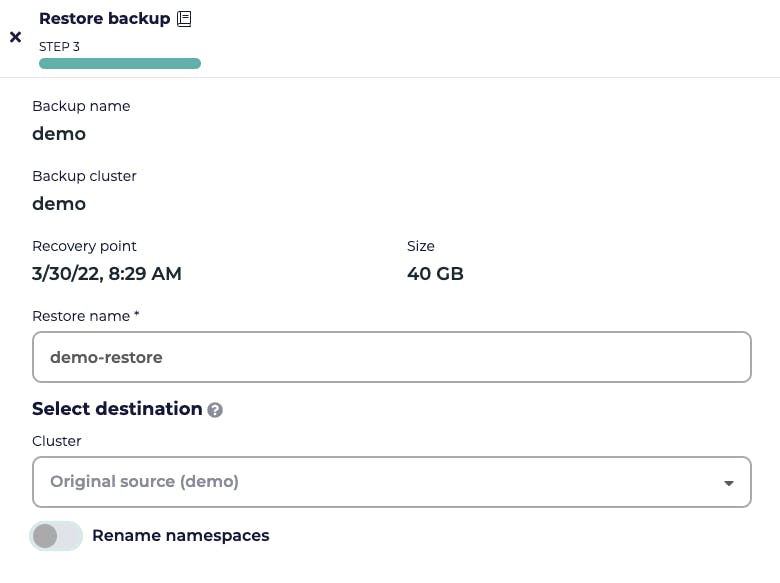
Step 6 - Restore
You can easily restore from the backup to the same cluster or a different cluster, even in a different namespace.
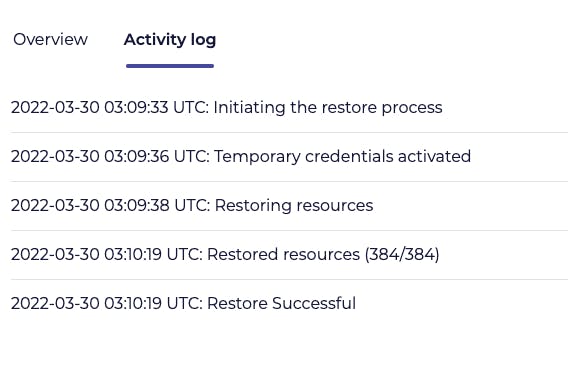
It will start a restore job and after some time the restoration will be completed.

Was that too simple?? Yes, it was, that is what CloudCasa is all about, making it too simple to backup and restore Kubernetes clusters.
Advanced Restore
CloudCasa has a special functionality that spins up a new EKS cluster automatically on the restore. In order to see this, you need to choose the auto-discovered EKS cluster and install the cloud casa agent on that. After that, you need to enable snapshot and copy when you define the backup.
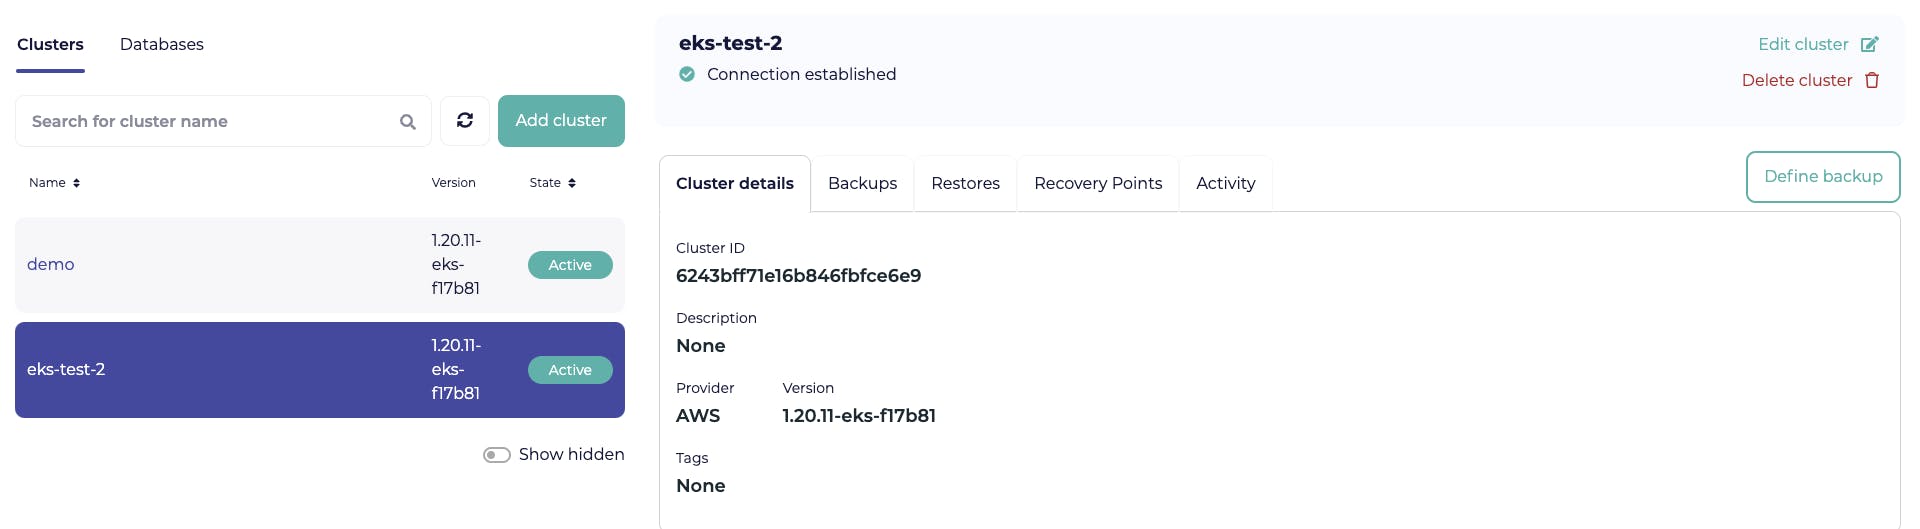
Let's add the cluster eks-test-2 that was auto-discovered by CloudCasa
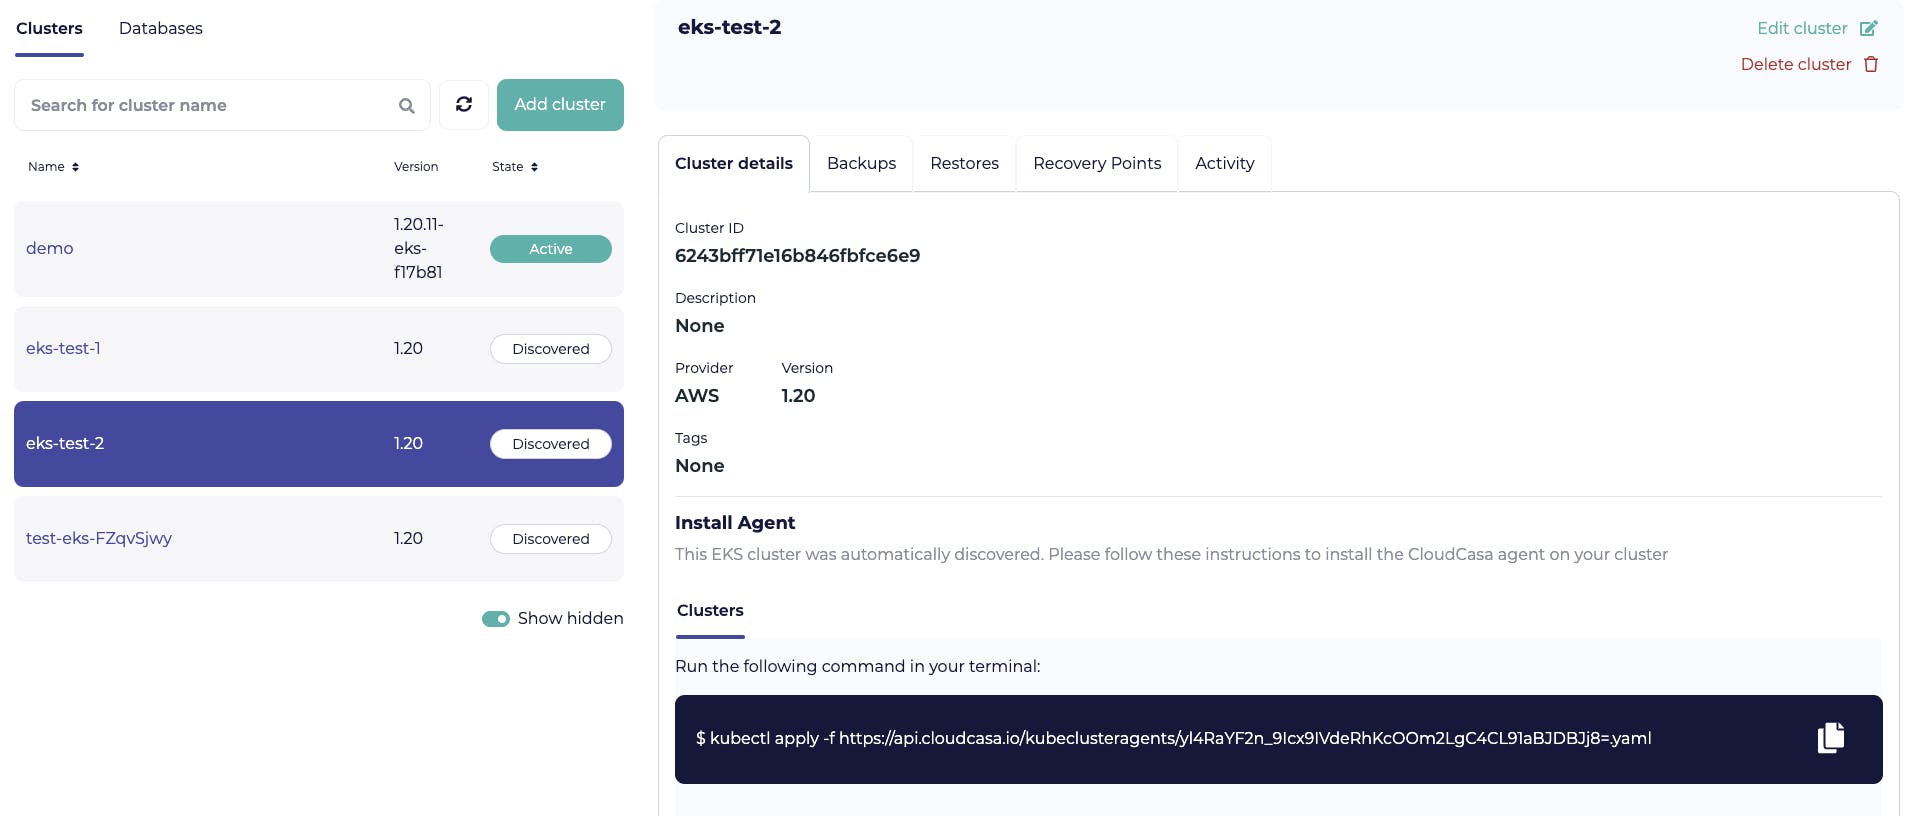
Run the agent on the cluster
kubectl apply -f https://api.cloudcasa.io/kubeclusteragents/yl4RaYF2n_9Icx9IVdeRhKcOOm2LgC4CL91aBJDBJj8=.yaml
namespace/cloudcasa-io created
serviceaccount/cloudcasa-io created
clusterrolebinding.rbac.authorization.k8s.io/cloudcasa-io created
deployment.apps/cloudcasa-kubeagent-manager created
The cluster becomes active in a few minutes.
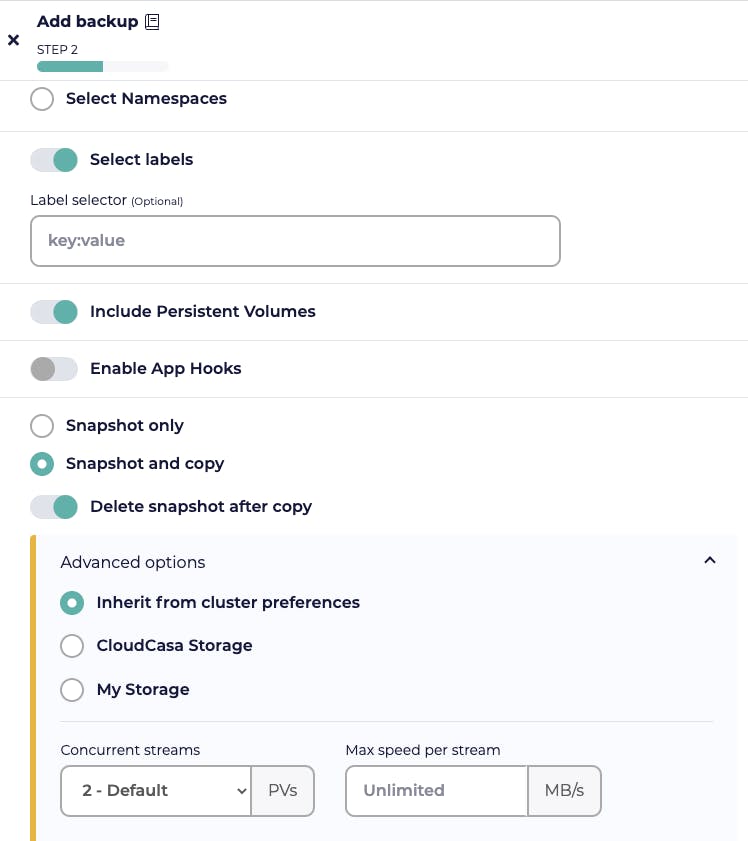
Now, let's defined the backup with snap+copy and run it.

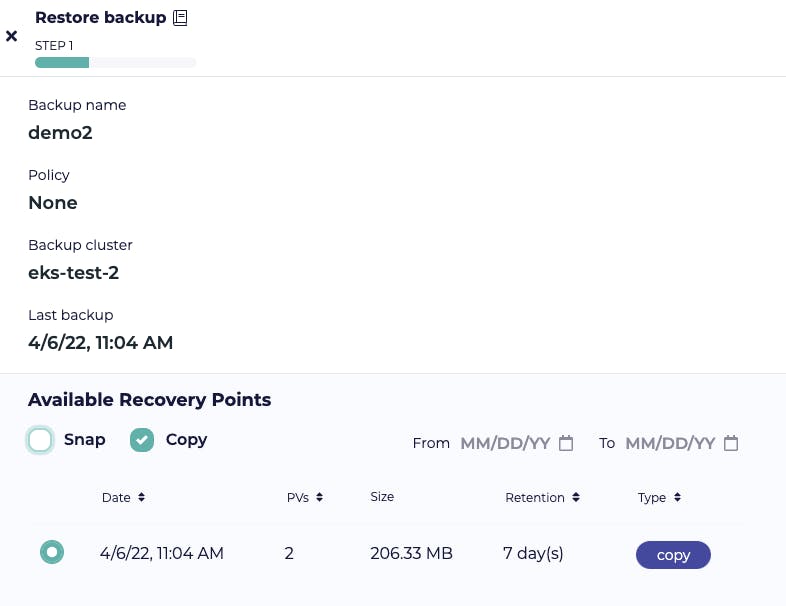
When you go to the restore section, you first select the copy to be restored.
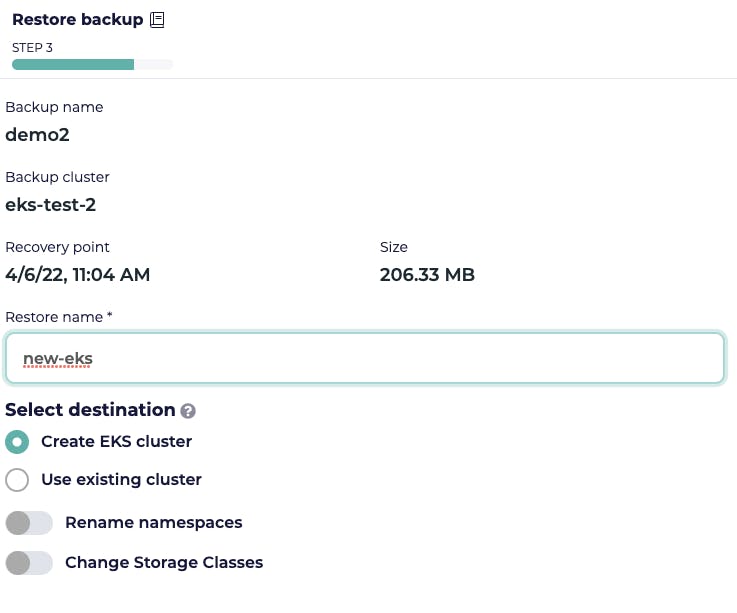
On the 3rd step, you choose Create EKS Cluster.
Now, in the next step, you enter/choose the AWS account, role and configuration(this is something CloudCasa will populate in the dropdowns and you just need to select from it). You can also go into your AWS account and create new roles by following the docs.
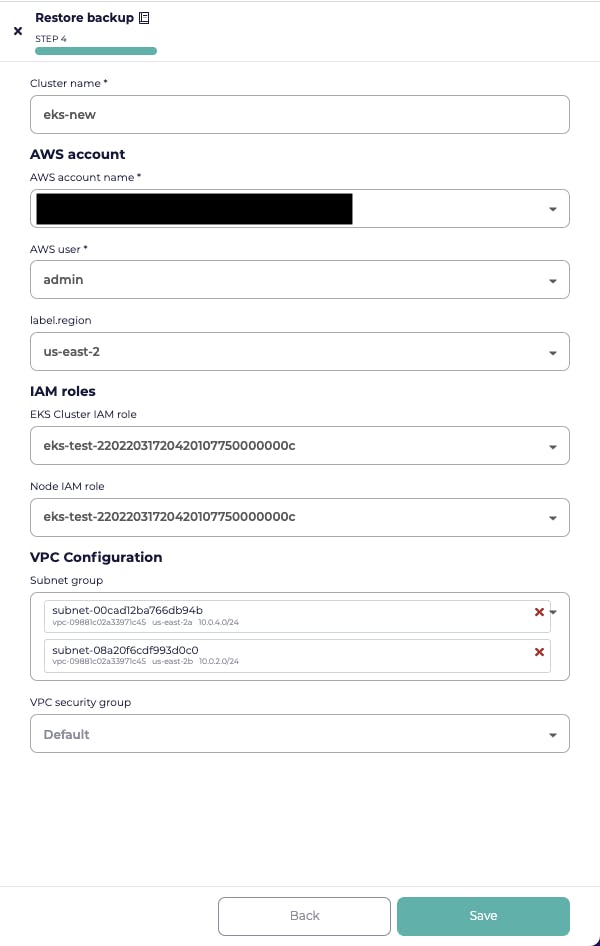
Once you hit save, the restoration job will start in some time you will be able to see the status from the dashboard.
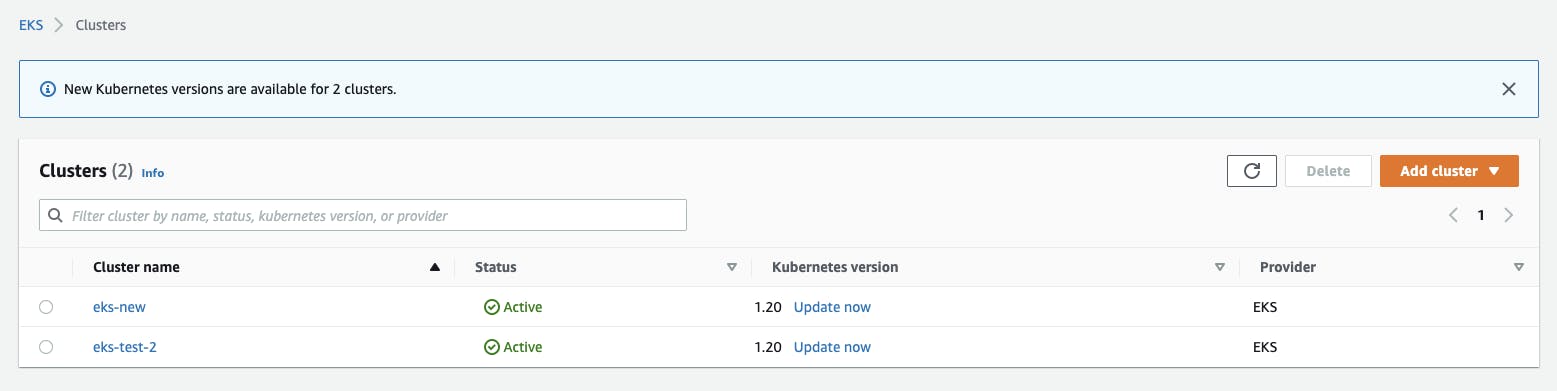
Once the job is complete you can go back to your AWS console and see the cluster created successfully with the copy of backup, this is simply amazing!!
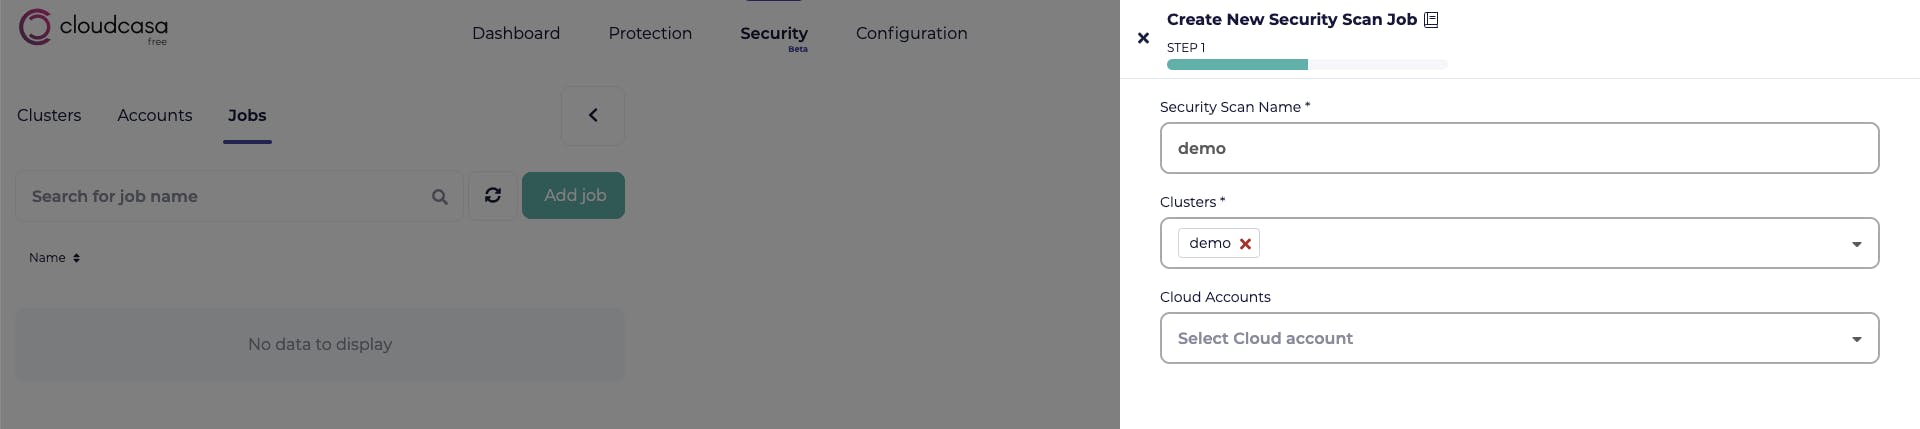
Security Scanning
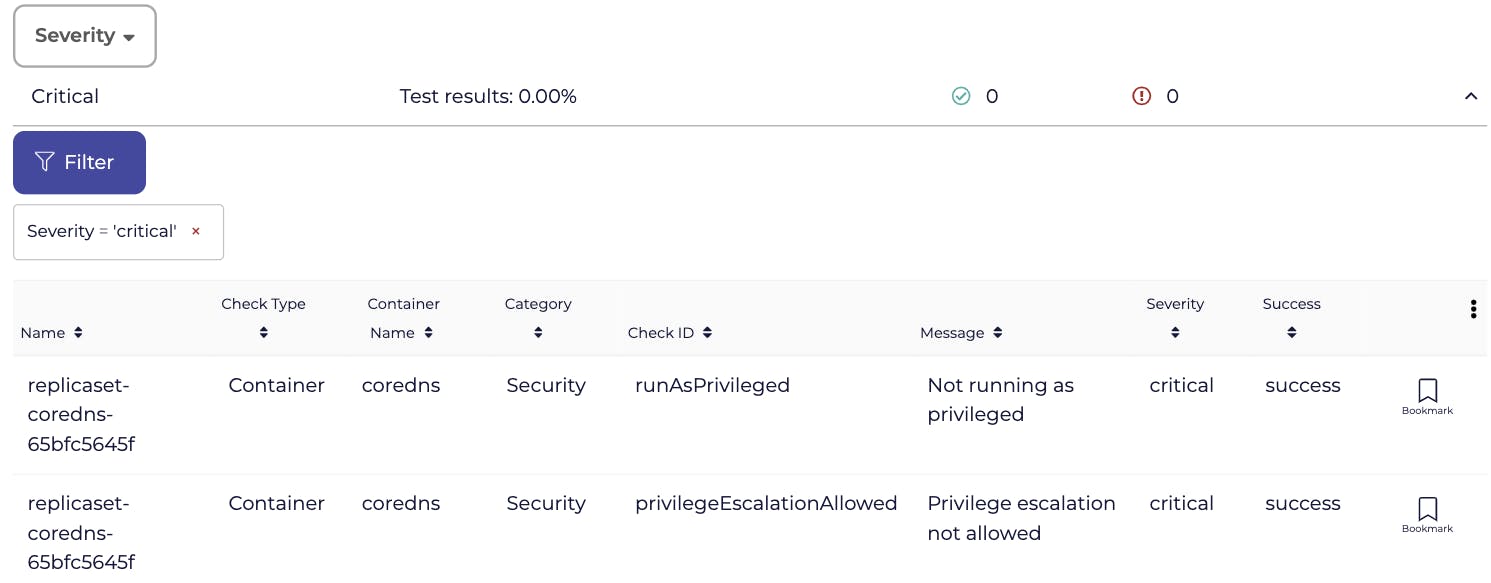
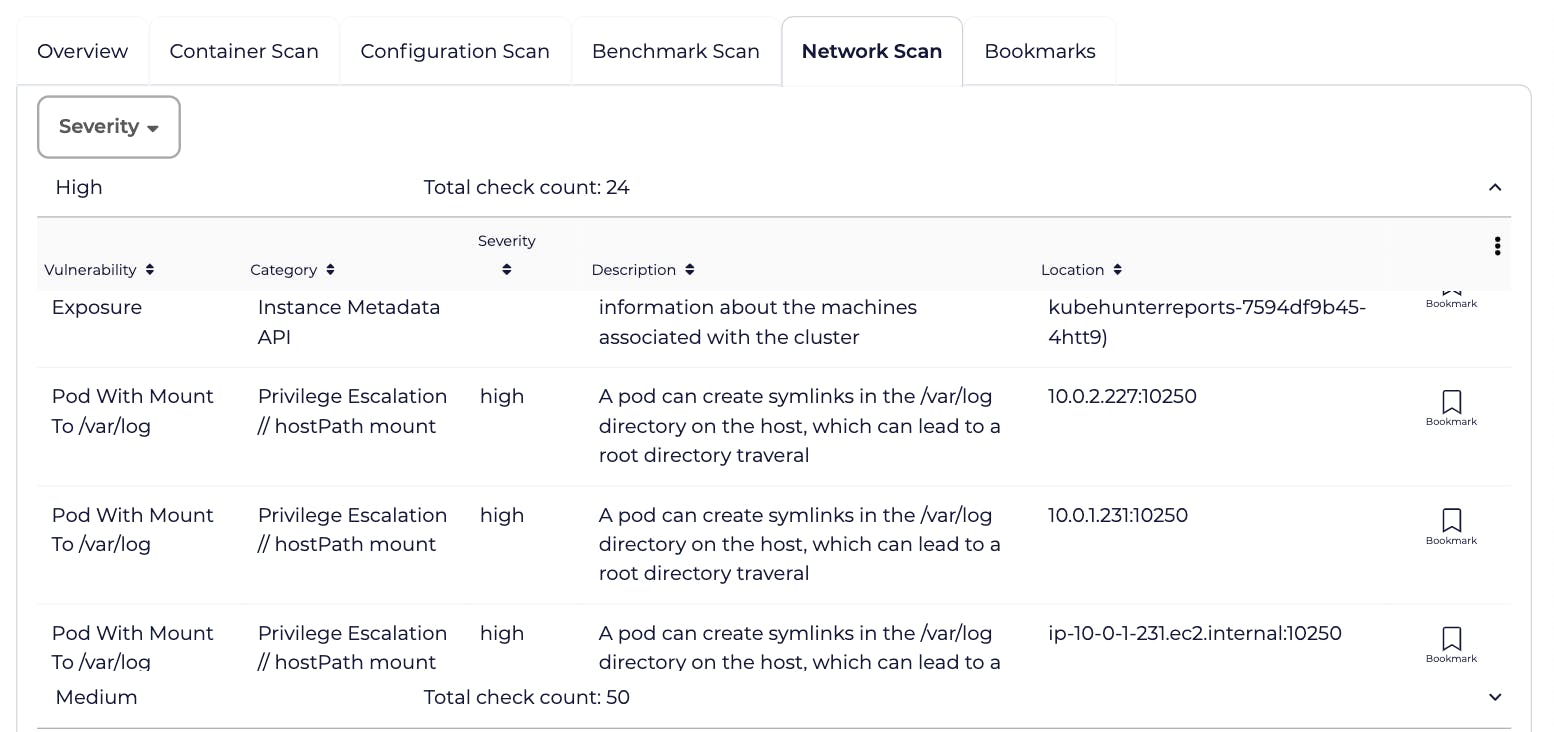
Apart from backup and restore, CloudCasa also provides an option to run a curated set of vulnerability scans right from the dashboard.

Once the scan is complete, you can view the reports and see that there are a number of scans that are done. The report gives a great view of all the test cases that are being done with descriptions as well. This is a beta feature so I believe there is work to improve it. I would like to see the remediation steps and fix some of the things right from the browser.
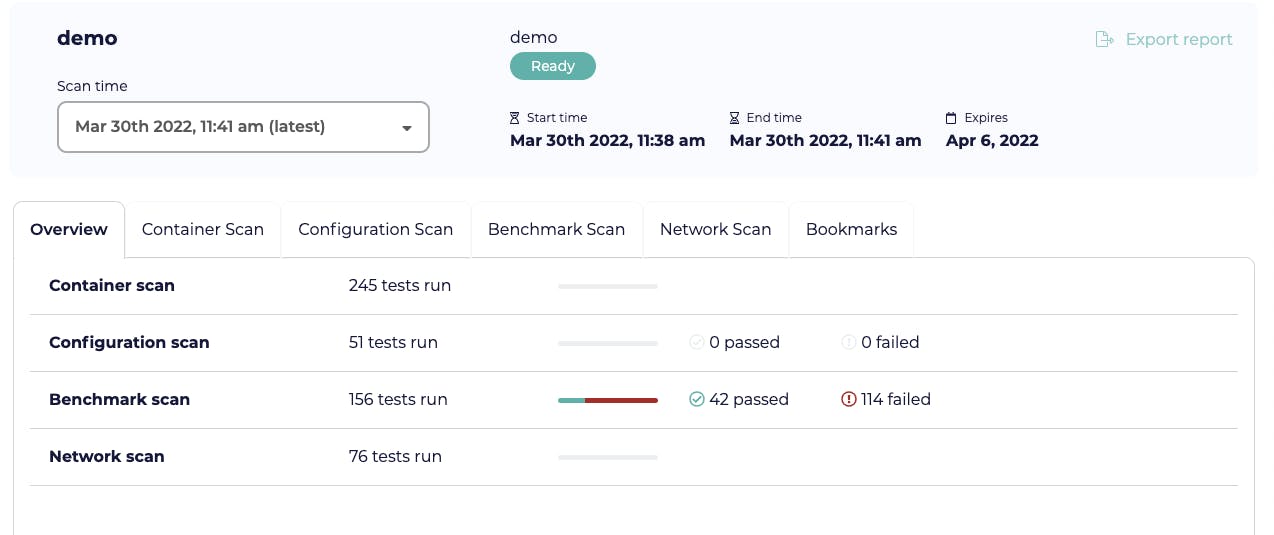
It performs checks against the workloads, the benchmarks, and network scans as well!
So with the Backup/Restore you also get the power of scanning your cluster and making it more secure. The Backup/Restore and security of the cluster are the two most important areas that everyone should start implementing right from the beginning and CloudCasa is making these super simple.
Pricing
CloudCasa has a transparent pricing model and a very generous free tier as well.
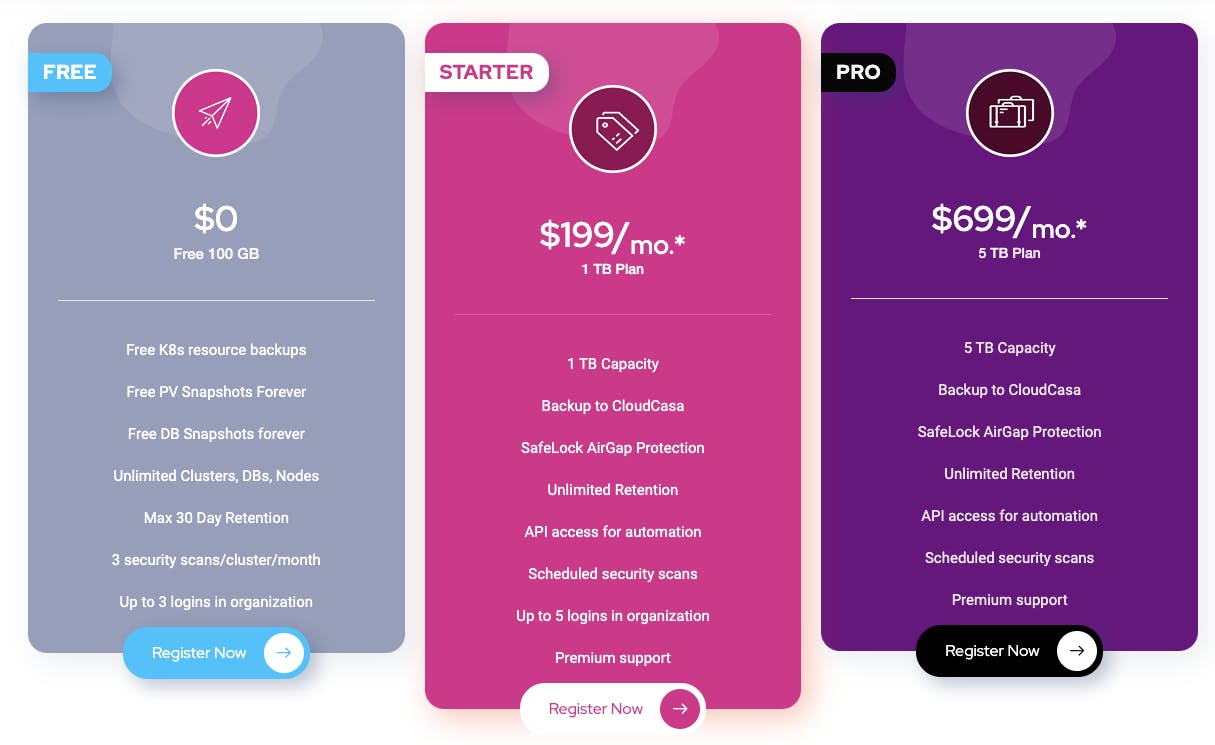
The free plan is actually without a credit card with a 100 GB promotion or you can choose a premium service plan with monthly or annual pricing. Moreover, you only pay for PV data and all the plans give free etcd, PV, RDS snapshot management with no limit to worker nodes or clusters.
Check out CloudCasa and give it a spin!
Follow kubesimplify for more interesting articles like this.