Deploying Java Application using Docker and Kubernetes- DevOps Project
Hello Everyone, Welcome to the blog. In this blog, We going to see "How to Deploy a Java Application using Docker and Kubernetes". So, Let's start The…

Hello Everyone, Welcome to the blog. In this blog, We going to see "How to Deploy a Java Application using Docker and Kubernetes". So, Let's start
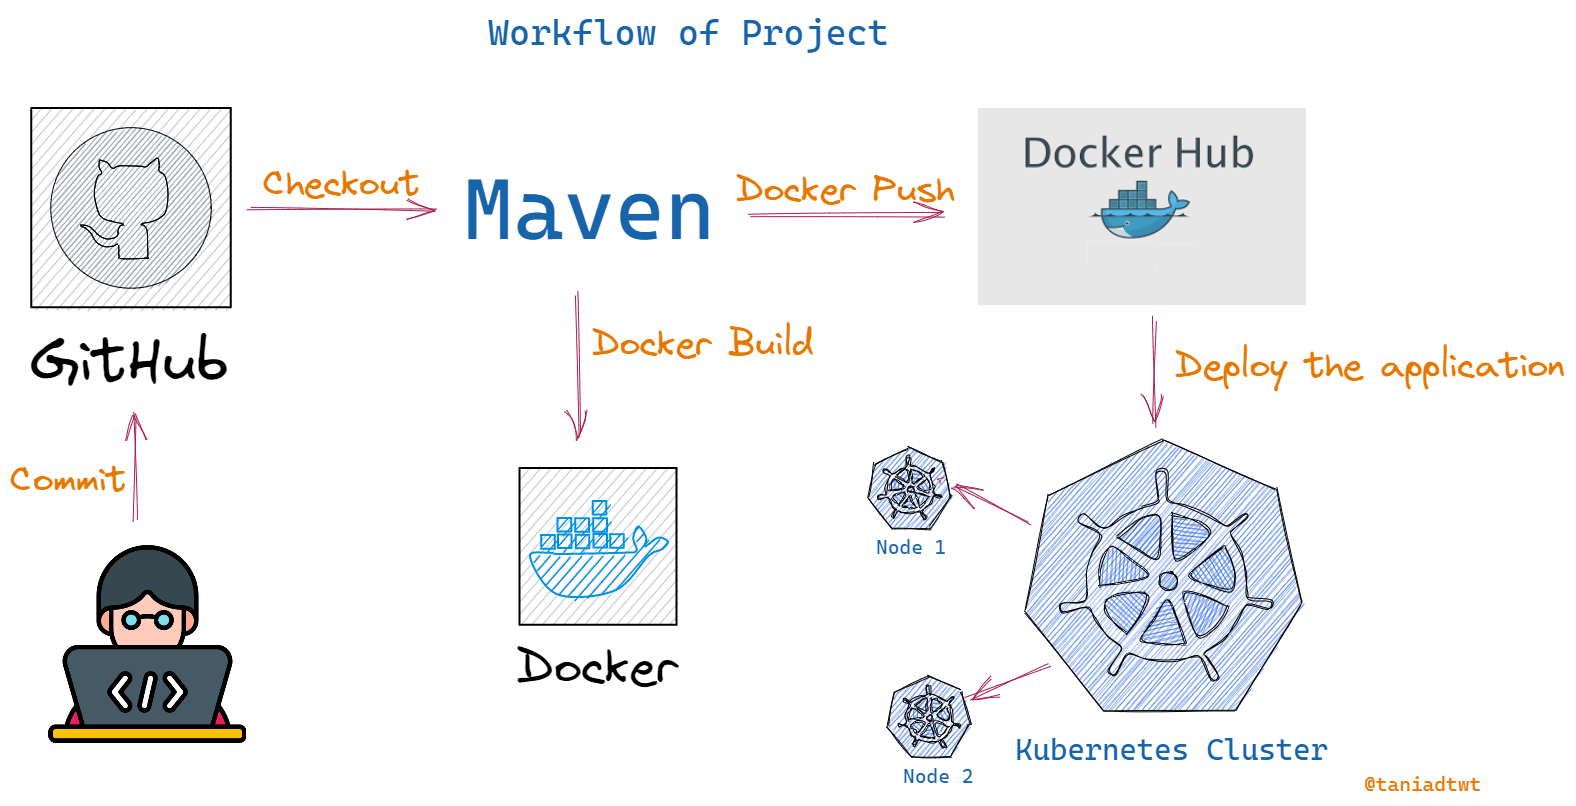
The workflow of the project is going to be like this in the below image ⬇️⬇️
So, You have already installed Docker, Git, Kubernetes and Maven in your system.
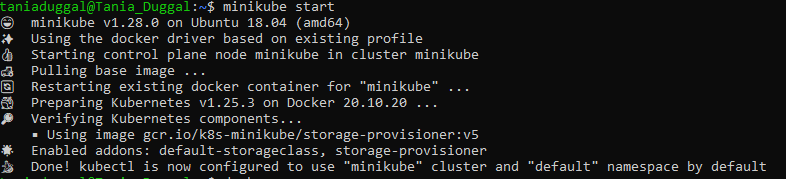
Firstly, start the minikube cluster to up the k8s cluster. Now, the k8s cluster is up.
You can do kubectl cluster-info to see the information of the cluster. You can see this here

You must have maven installed on your system and set the maven home page. We use maven to build the application.
Since I already installed maven on my system. To Check if your maven is installed or not. You can use maven --version to check the version of the maven in your system. If it provides the output, it means you successfully installed the maven.
Now, fork the project(Java Application) from GitHub. I used someone's Java application. You can go to my GitHub repo and fork it and can clone it.
Here's the link to my repository
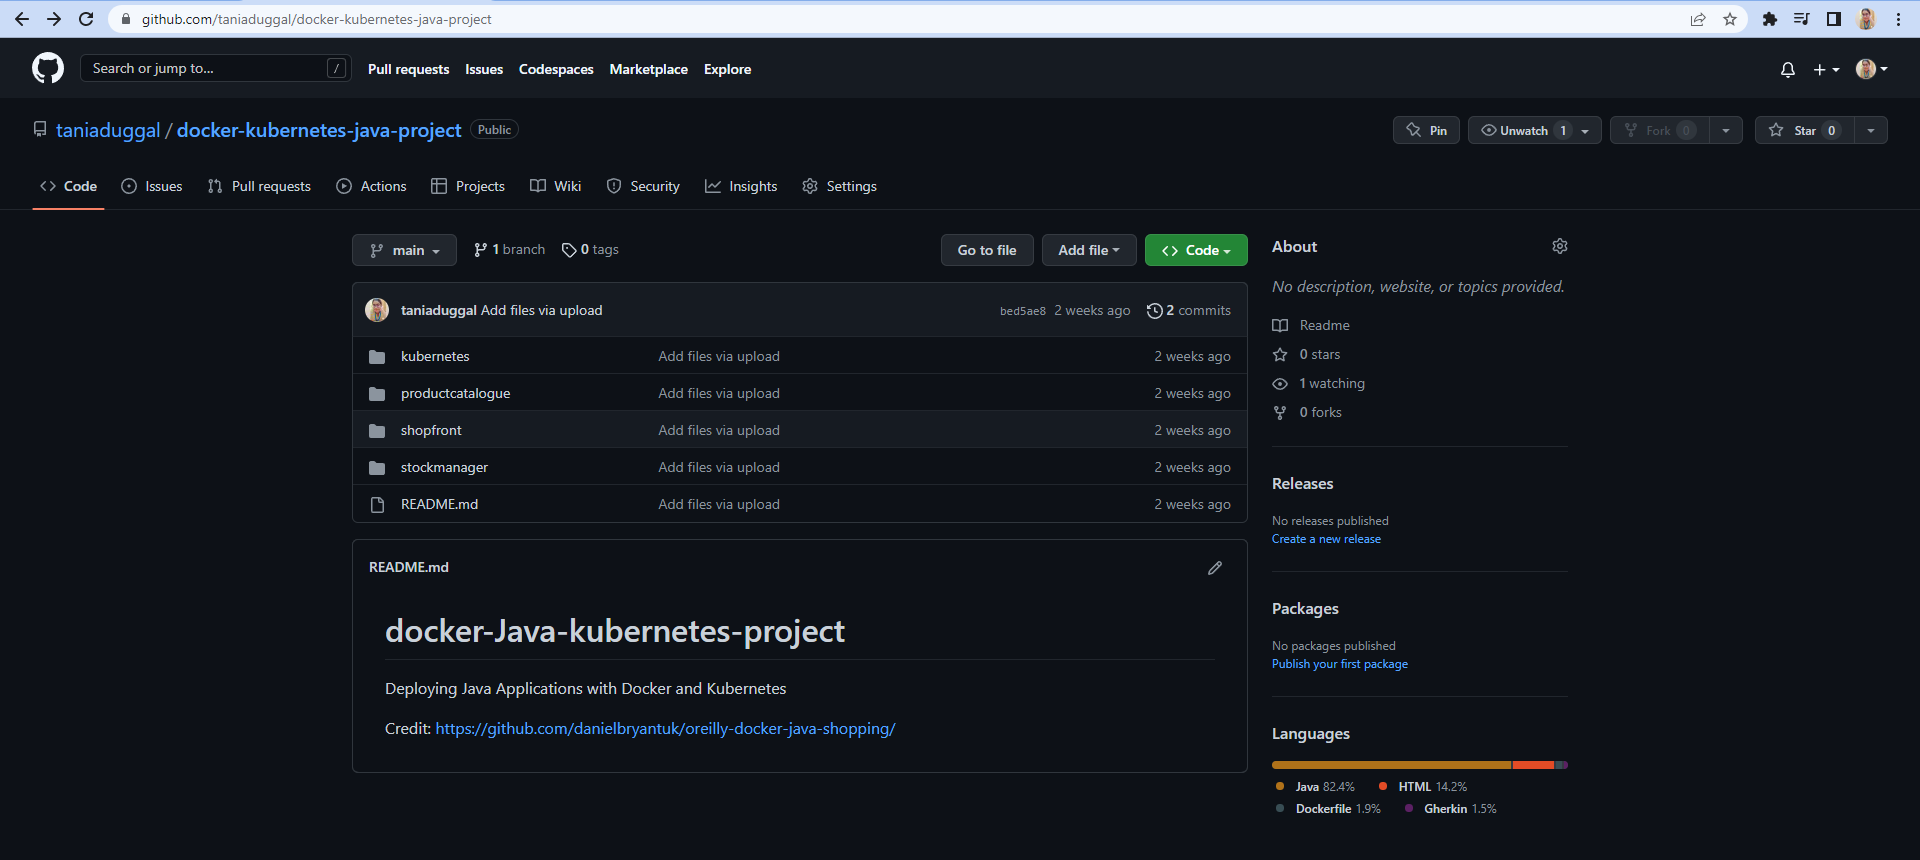
Now, go into the repository. By doing ls, you can see the different microservices i.e productcatalogue, shopfront and stockmanager.

Now, we are going to build our microservices to get the jar file.
Now, go into the shopfront microservice. By doing ls, you can see the files/folders inside the shopfront.

You can build the shopfront microservice by using mvn clean install command.

After the build success, you can see the target folder in the shopfront. In that, we have our jar file.


Now, You can build the image of your shopfront jar file from the dockerfile by using docker build command.
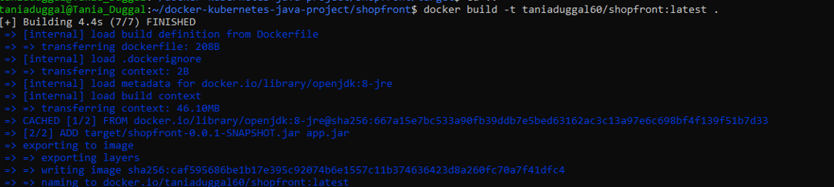
Let's, take a look at the dockerfile.

From: We call the base image for OpenJDK for the JRE file
And: Add YAML and config files that are necessary
We expose the port and give EntryPoint
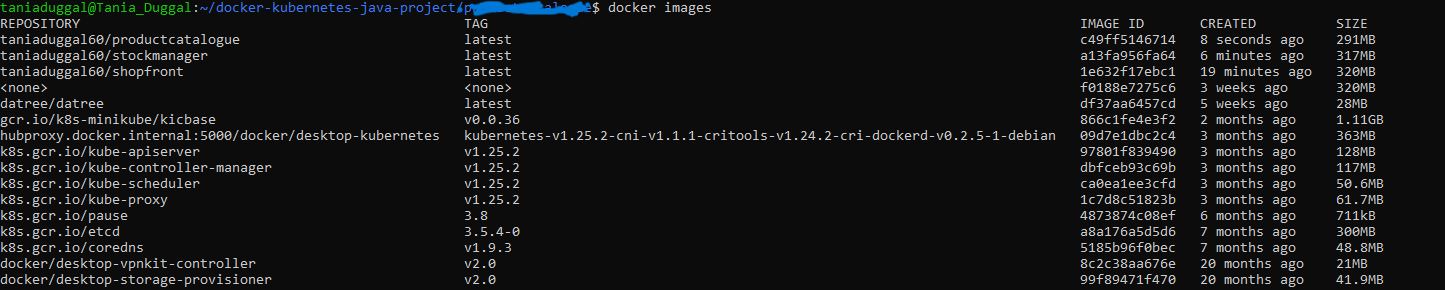
You can check the image by docker images command. It lists all the images.
Now, you repeat the same steps for your other microservices.
First, by mvn clean install command, get the jar file for the remaining microservices.
Second, by docker build command, build the images of the remaining microservices.
Now, after following the above steps, you can build your remaining images. You can see all the images by docker images command.
Now, You have to push all your images to your docker account.
Now, login to your docker account by docker login. It asks for the username or password.

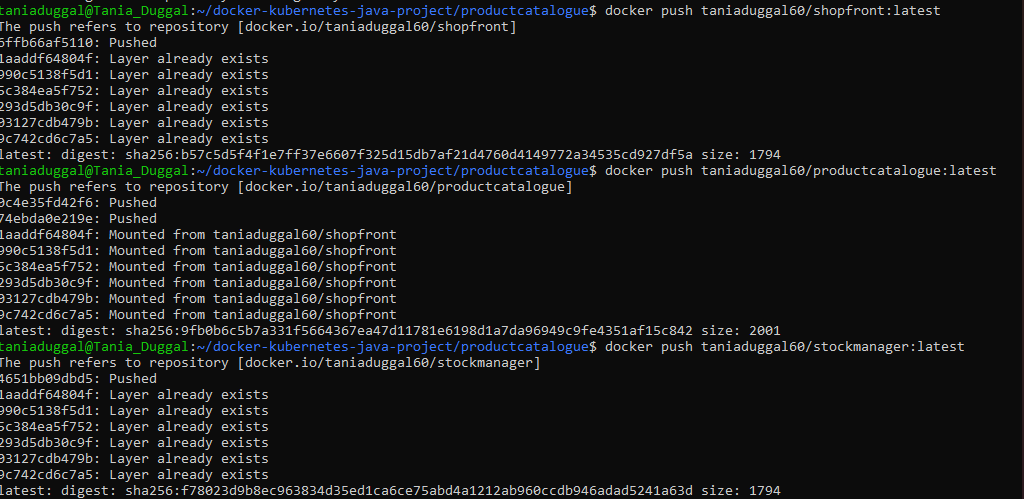
After the login succeeded, you can push your images to the dockerhub. You have to give the username of your docker account because if you don't give the username, you won't able to push the images because it has to understand from where the images are being pushed (from which account).
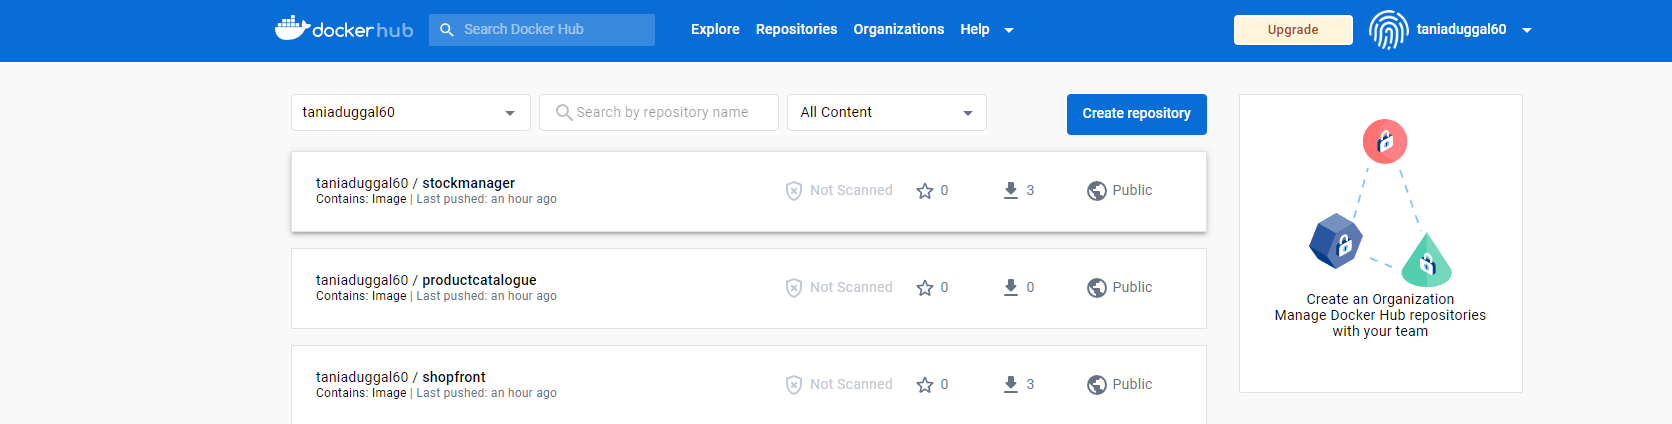
Now, you go to dockerhub, and you can see your images in your repository.
Once you push your images, you can docker logout from dockerhub login from your system.

Now if I go to my application, there is a folder "Kubernetes". It contains the YAML files for each microservice.
If you don't know about service and deployment, please refer to this article .
Now, go to the Kubernetes folder. Here, You can see YAML files for each microservice.

Now, let's take a little bit look at one of the YAML files.
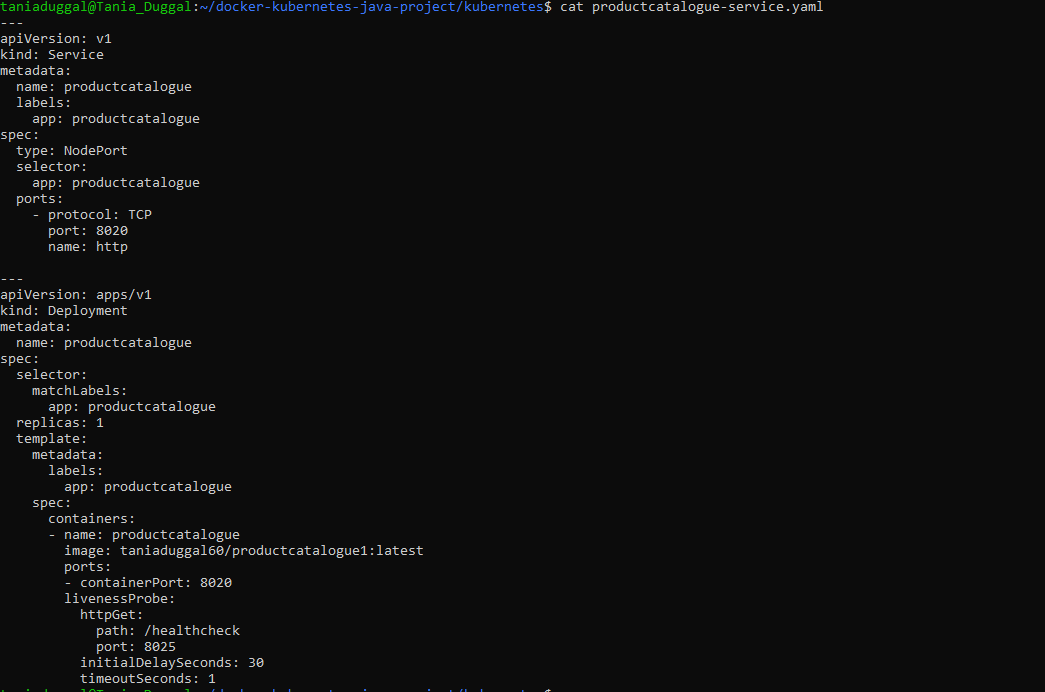
In the YAML file, we use "Deployment" and "Service" objects. Using a deployment allows you to easily keep a group of identical pods running with a common configuration. Once you have defined and deployed your deployment Kubernetes will then work to make sure all pods managed by the deployment meet whatever requirements you have set.
When using a Kubernetes service, each pod is assigned an IP address. As this address may not be directly knowable, the service provides accessibility, then automatically connects the correct pod. When a service is created it publishes its own virtual address as either an environment variable to every pod or, if your cluster is using coredns, as a DNS entry any pod can attempt to reach. In the event of any changes to the number of available pods the service will be updated and begin directing traffic accordingly with no manual action required.
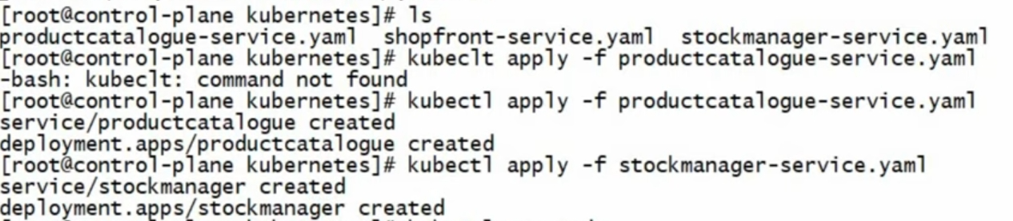
Now, We are going to apply all the YAML files using kubectl apply command.
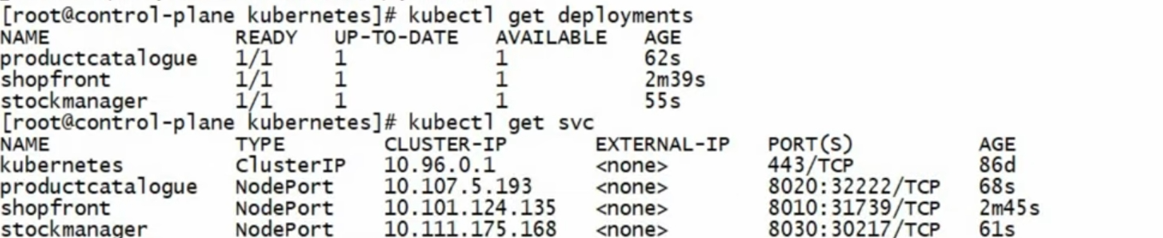
Now, your Deployment and Service objects are created. You can see them by using Kubectl get deployment and kubectl get svc commands respectively.
Now, it's time to access our microservices from the web. Now, do minikube service microservicename . It gives the URL to access the application. You can see this here
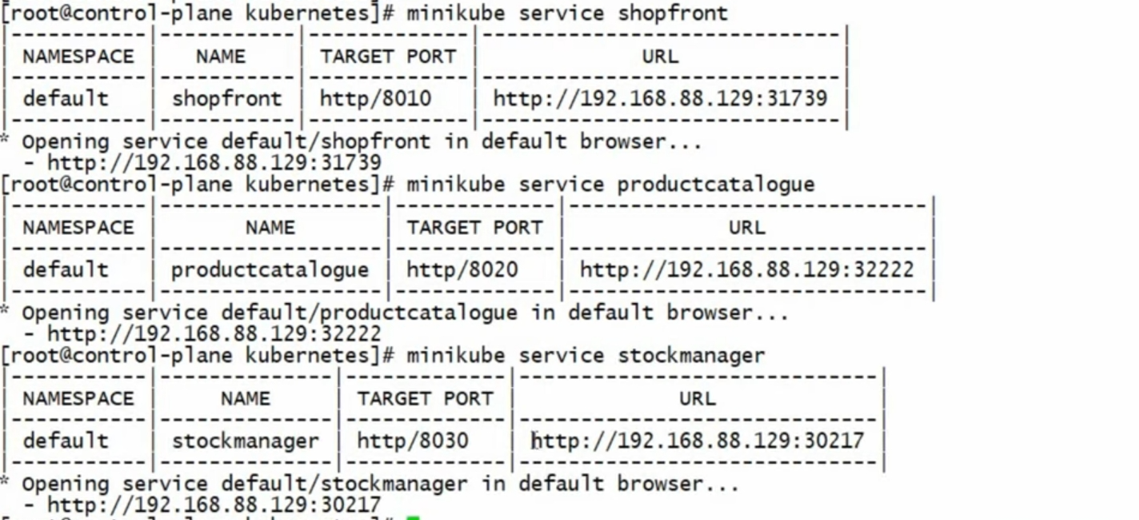
Now, You'll go to your web browser and put the IP address there to access the microservice from the web browser. You can see this here
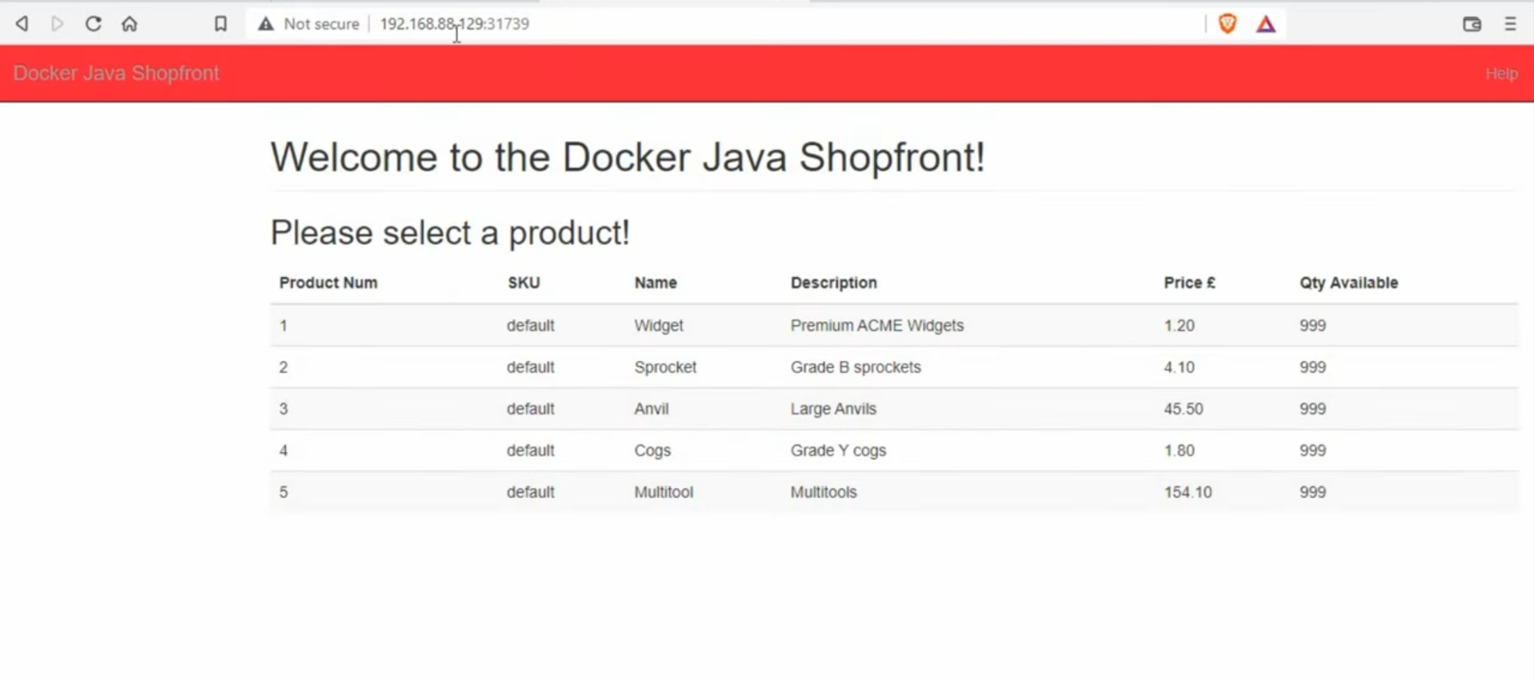
Now, do the same for other microservices to access it from the web browser. You can see this here


These all are the steps to deploy the Java application using Docker and Kubernetes. I hope🤷♂️ it should be helpful for you to understand the concepts✍️.
Don't forget to like and share this post. Connect with me on Twitter. Follow me for more such blogs on Hashnode.
Follow Kubesimplify on Hashnode, Twitter, and LinkedIn. Join our Discord server to learn with us.
I am Tania from India currently learning DevOps technologies and explore myself in different fields.
Get new posts in your inbox.
Spotted a typo or want to improve this post? Edit on GitHub →