


Photo by Roman Synkevych 🇺🇦 on Unsplash
GitHub Actions 101: What are Github Actions & how to use them? A Beginner's Guide.
Automate your Workflow in no time.


Introduction
Github is a famous code hosting platform that's been used worldwide by many many developers in the Open Source world. Being a Project maintainer might get tedious sometimes if you have lots of contributions coming in. It requires you to build, test, and deploy your code as a part of a process. Here is when Github Actions come to use.
What are Github Actions?
In the simplest terms, Github Action is a platform to automate Developer Workflow.

Understanding some basic Terminologies
What are those Workflows?
According to Github Documentation
"A workflow is a configurable automated process that will run one or more jobs. You can have multiple workflows in a repository, each of which can perform a different set of steps". In simple terms,
a chain of automated Actionstriggered through an event is a Workflow.
What is an Event?
An event is a specific activity in a repository that triggers a workflow run happening to your repository. eg: Someone creating an issue or a pull request is an event or someone joining in as a contributor. The chain of automated actions could be sorting, labelling, and assigning the Issues. This is the exact job of Github Actions!
You would have a fair understanding of this once we commit our first Workflow.
Let's start by Writing our first basic Github Actions:
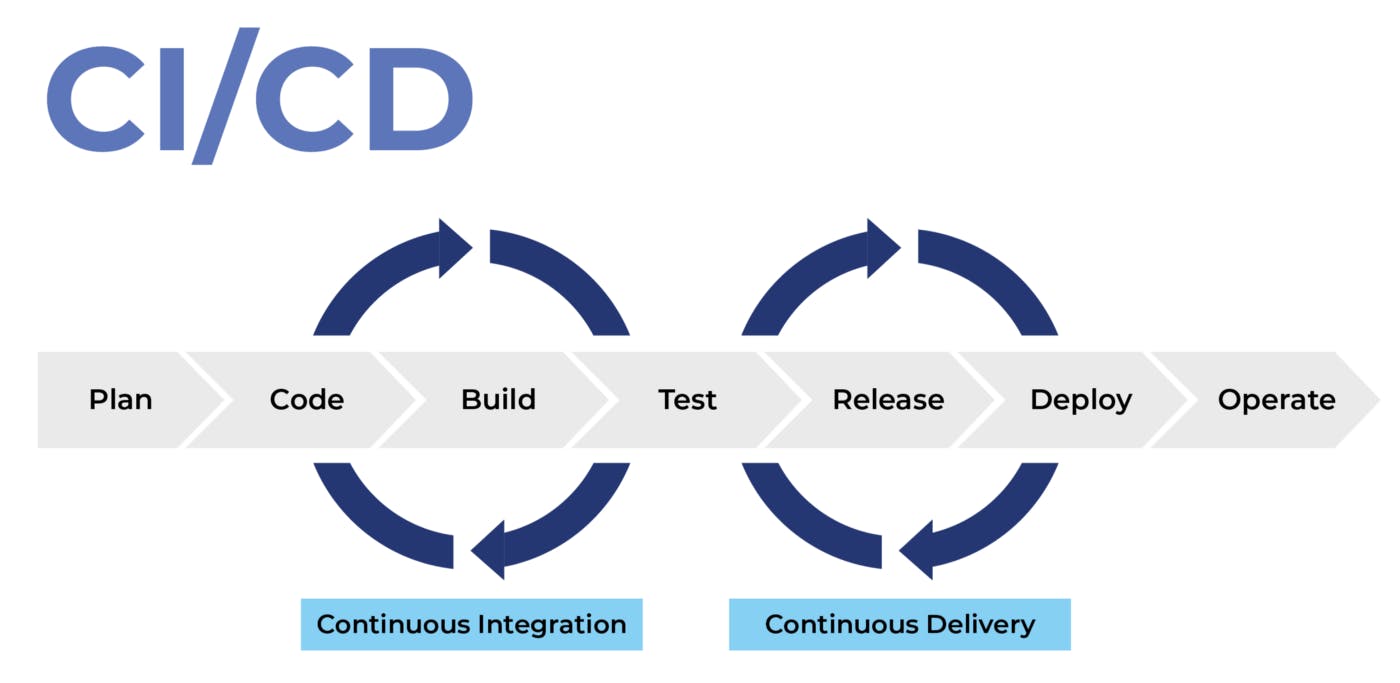
The most common workflow for your repository is the Continuous Integration and Continuous Delivery (CI/CD) pipeline. You write your code, the build starts, it tests your code builds it into an artifact then pushes the artifact and deploys the application in a deployment server. With, Github Actions the setup process for a pipeline is easy.
Where to find Github Actions?
Login to your Github Profile and head on to the repository for which you want to automate the workflows.
Note that: Github Actions are associated with the repository & you can have multiple workflows defined for a single repository.
 Now that you've found the Github Actions tab, click on it. You can see all the different workflows templates for deployment, integration, security, etc.
To follow along with this article, In the Automation section choose "Greetings" and click configure.
Now that you've found the Github Actions tab, click on it. You can see all the different workflows templates for deployment, integration, security, etc.
To follow along with this article, In the Automation section choose "Greetings" and click configure.
- In your repository, a
.github/workflows/the directory is created to store your workflow files. 📁 - In the
.github/workflows/directory, a new file called greetings.yml is generated. This is the workflow file written in YAML. You may rename the Workflow file as per your own wish.
The syntax of the YAML file is explained below.
name: Greetings

on: [pull_request, issues]

jobs:
  greeting:
    runs-on: ubuntu-latest
    permissions:
      issues: write
      pull-requests: write
    steps:
    - uses: actions/first-interaction@v1
      with:
        repo-token: ${{ secrets.GITHUB_TOKEN }}
        issue-message: 'Thank you for creating an issue"'
        pr-message: " Thank you for creating your first pull request. It will be reviewed soon"
The name of the Workflow is optional. It defines what the workflow is doing. Here, we have kept it as default i.e Greetings.👋
The on specifies the event that triggers the workflow. We have defined it for pull requests and issues. You may also exclusively mention it for a specific branch. (for PR)
Jobs is the part that gets executed whenever the specified event happens. "greetings" is the default name of the job. You may name it anything. Actions can install software for the environment, set up authentication, or automate complex sets of tasks.
- uses: actions/first-interaction@v1 is an action for filtering pull requests and issues from first-time contributors.
Anybody who creates a pull request or an issue for the first time would be greeted automatically with the pr-message and issue-message respectively.
Once you’ve chosen your workflow & customized it press the “start commit” button.
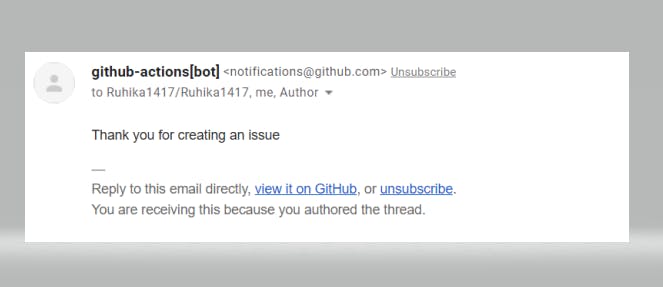
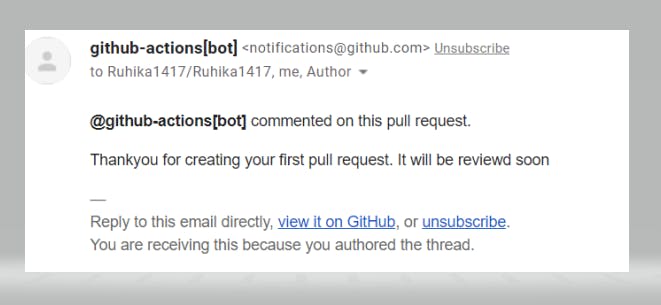
Within seconds the Github Actions bot will send you an automated Greetings message in the comments and also its notification will be sent via email.
FOR FIRST TIME ISSUE👇:
 FOR FIRST TIME PULL REQUEST👇:
There, you made it through. Your first Github Actions Workflow is successfully configured. 👏 Do try other category templates too according to your project.
Conclusion
If you liked the blog don't forget to like, share and Follow for more such tech blogs. Also, feel free to connect with me on Twitter. Thank you for your patient reading <3