Introduction to Shell
In simple terms, a shell is an interface that accepts user input in the form of commands and passes it on to an operating system and gives output.
It is a medium between the user and the operating system to communicate with each other.
The popular shells used on Linux are:
C Shell (csh)
Kron Shell (ksh)
Z Shell(zsh)

Prerequisites
Before discussing shell-scripting, we will discuss one real-life example i.e. just imagine you want to interact with someone in you should know the language. In a simple manner, if we want to learn shell scripting we should know some basic Linux commands.
To learn about Linux commands, there are many blogs you can refer like these two blogs on Linux Commands by Aayush and Bishal
Jump into the world of Shell Scripting
Now, we are done with learning some basic Linux commands using these referred blogs. So, we are fully ready to learn Shell Scripting.
Shell Scripting is basically a list of commands which are listed in the order of execution to do specific tasks.
Shell Scripting Shebang #!
This #! is called shebang or hashbang.
It is used to tell the kernel which interpreter should be used to run the commands present in the file.
For example #!/bin/bash It means the interpreter should be of the bash shell. #!/bin/zsh Here, this means the interpreter should be of z-shell.
First Script
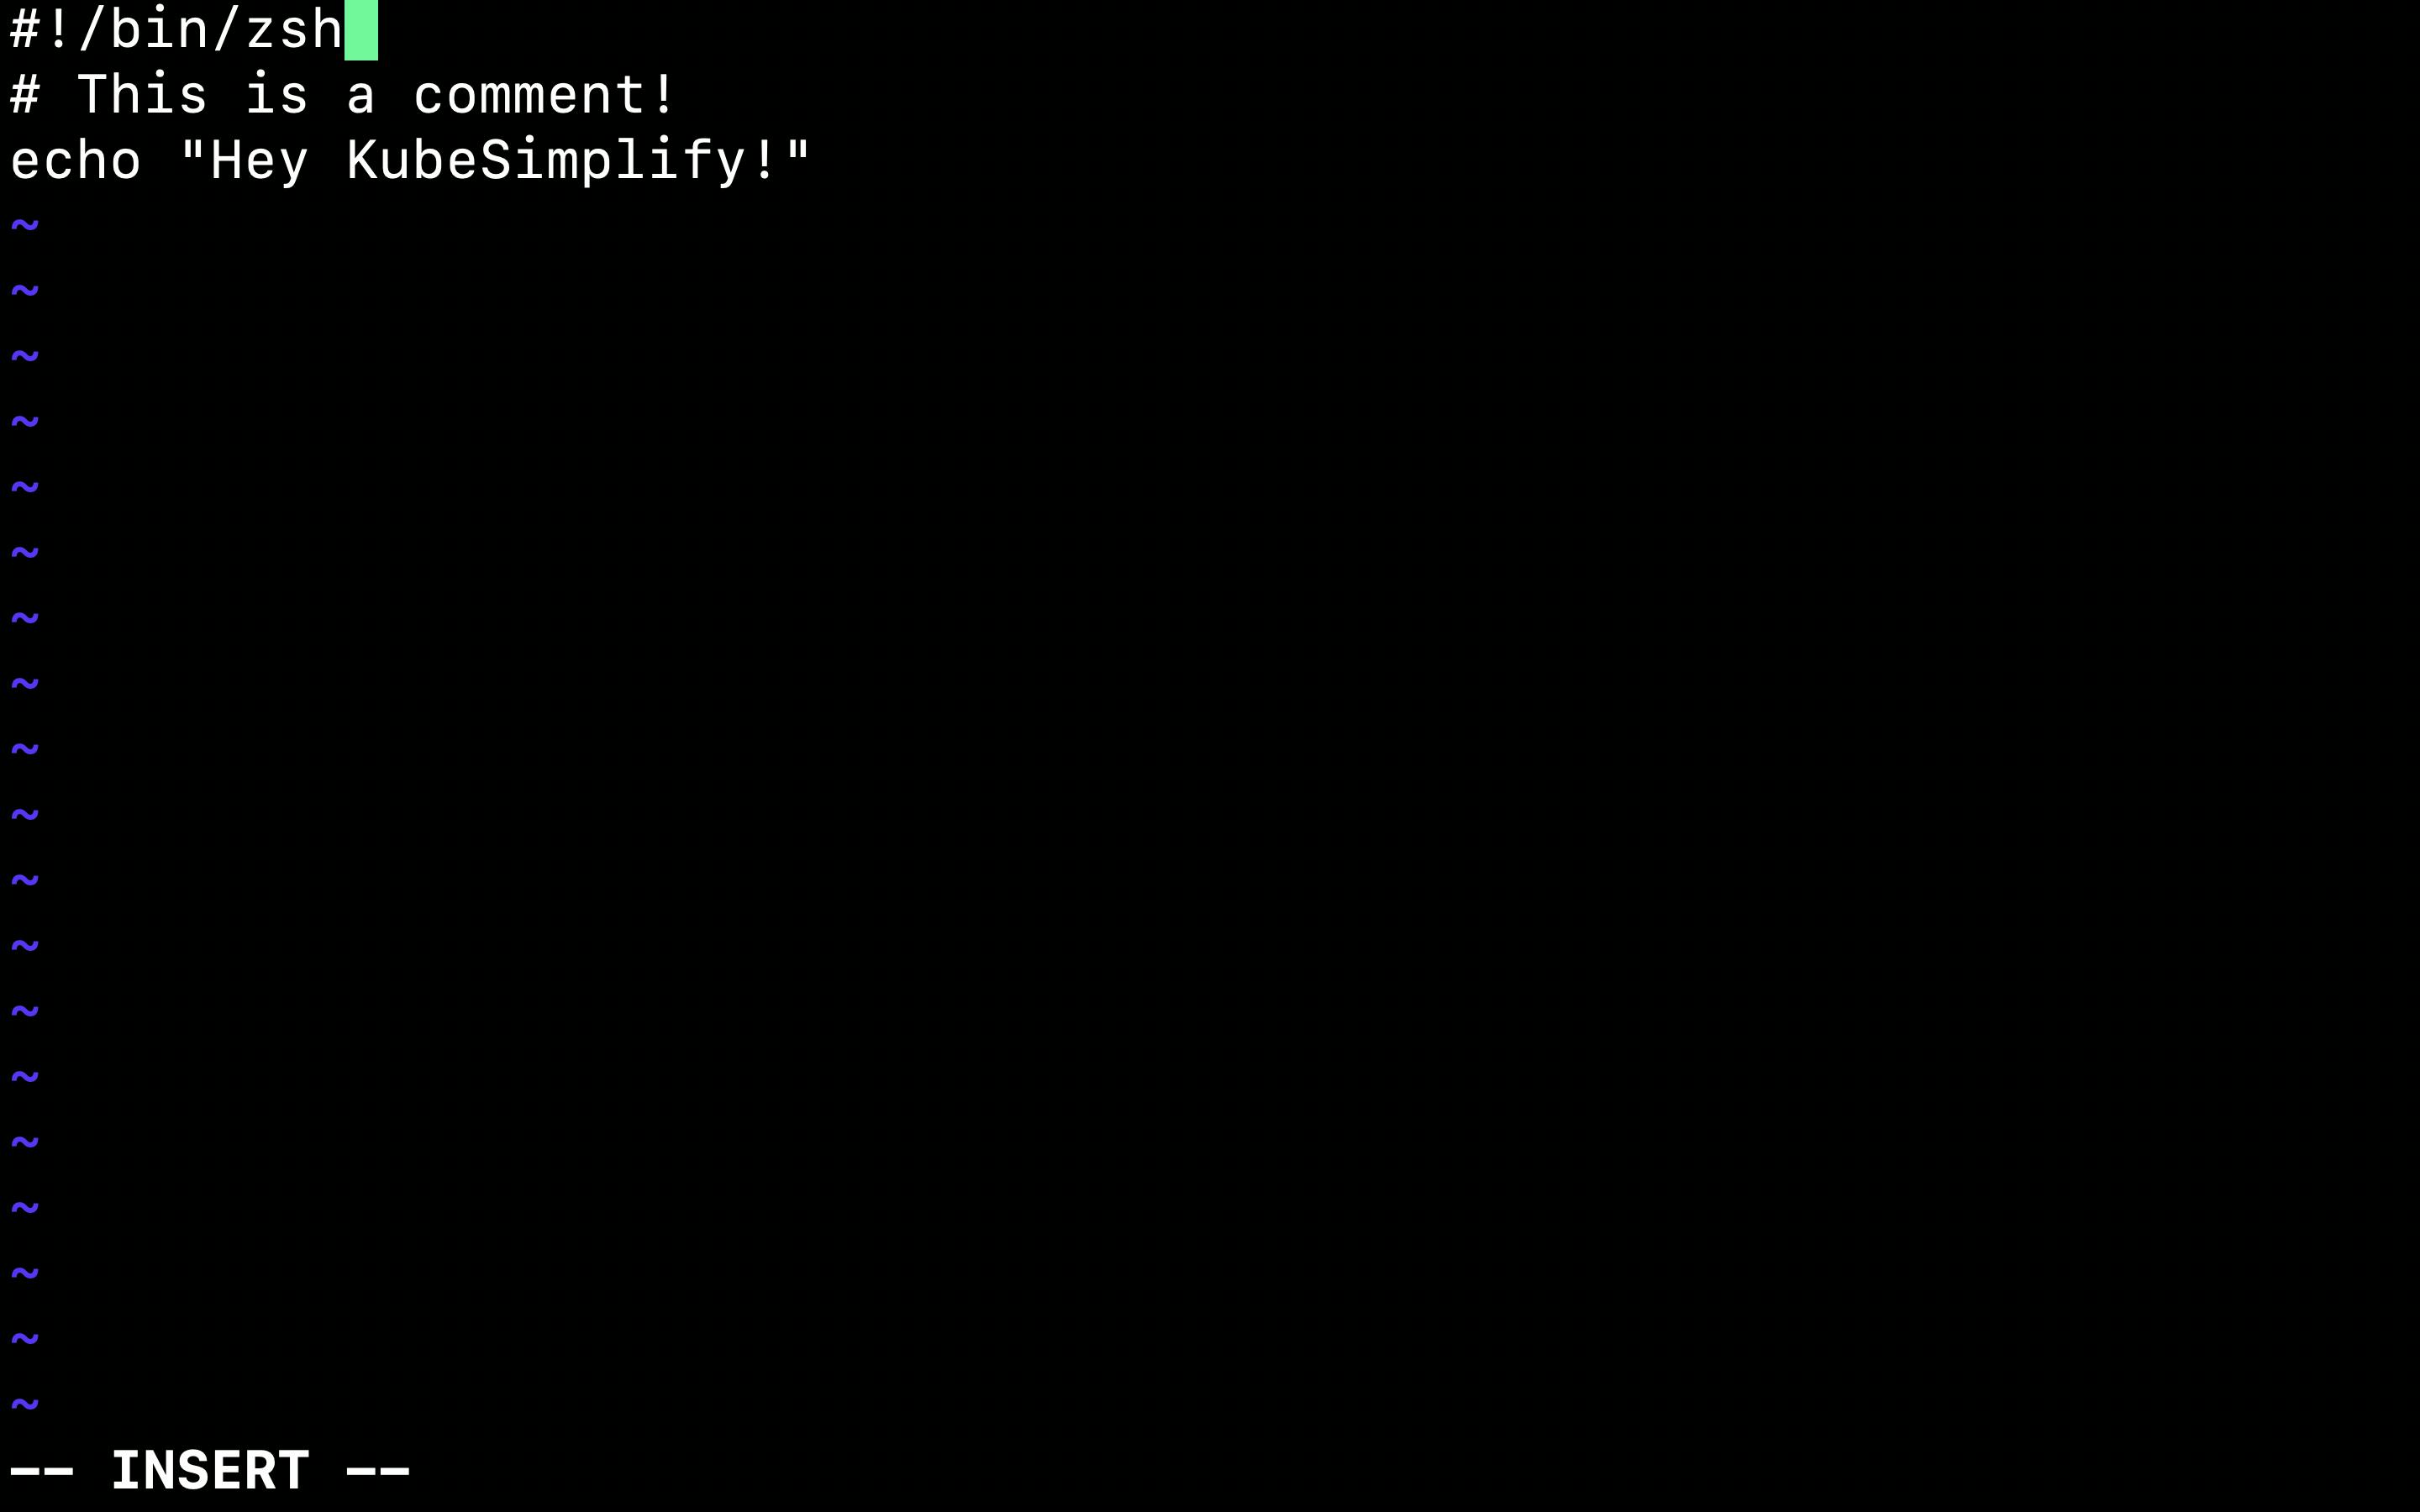
In the below example, this is how our first script looks like
#!/bin/zsh
# This is a comment!
echo "Hey KubeSimplify!"
The first line tells Unix that the file is to be executed by /bin/zsh. It means the interpreter should be of z-shell.
The second line comprised of this # tells that it is a comment and it is completely ignored by the shell.
The third is comprised of this echo command that is used to display a line of text/string that is passed as an argument.
How we are going to execute this?
Firstly create any folder where we are going to write our script files. Here, we are going to create our first script named first.zsh using touch.

Now, use vi editor, we are going to create some scripts in our file first.zsh

Yay! Let's write our first script!

Now, run it with chmod u+x name_of_script in order to make the file executable.

You are done with your first script, and now we will learn about Variables.
Variables
Variables are like a box that is used to assign some values and that value can be of any type number, string or float.
Syntax of variable:
#!/bin/zsh
best_community="Kubesimplify"
echo $best_community
There should not be any space between the variable name and value. We can access the value of that particular variable by using this dollar $ sign.
Operators
Arithmetic Operators
| Operator | Define | Usage |
| + | Addition | a+b |
| - | Subtraction | a-b |
| * | Multiplication | a*b |
| / | Division | a/b |
| % | Modulus | a%b |
| \= | Assignment | a=value |
Relational Operators
| Operator | Define | Usage |
| -eq | It checks the value of two operands, and it will return true if both operands' value are equal. | $a -eq $b |
| -ne | It checks the value of two operands, and it will return true if both operands' values are not equal. | $a -ne$b |
| -ge | It checks the value of the left operands is greater than or equal to the value of the right operand, then it will return true. | $a -ge$b |
| -le | operand, | $a -le$b |
| -gt | operand, | $a -gt$b |
| -lt | operand, | $a -lt$b |
String Operators
| Operator | Define | Usage |
| \= | It checks if two strings are equal or not, if they equal to each other, it returns true. | $string1=string2 |
| != | It checks if two strings are not equal, if it will not equal to each other, it will return true. | $string1!=$string2 |
| -z | It will check if a given string operand size is zero (0), and then it will return true. | -z $String |
| -n | It will check if a given string operand size is non-zero, and then it will return true. | -n $String |
File Operators
| Operator | Define | Usage |
| -d | It checks if the file is a directory, if it is a directory then it will return true. | -d $filename |
| -f | It checks if the file is an ordinary file or not, if it is an ordinary file then it will return true. | -f $filename |
| -s | It checks if the file exists and is not empty, if it is not empty it will return true. | -s $filename |
| -x | It checks if the file is executable or not, if it is executable it will return true. | -x $filename |
| -w | It checks if the file is writable or not, if it is writable it will return true. | -w $filename |
| -r | It checks if the file is in a readable format, if it is in readable form, it will return true. | -r $filename |
Conditionals
You can use conditional statements in your shell script to decide what to do in response to a condition or test.
If Statements
It is used to execute different instructions if the provided condition is true, otherwise, the task will not be carried out.
if [ <condition> ]
then
      <command>
fi
If and else Statements
This is also similar to the if statements described above, but it additionally allows for a condition to be performed if the condition is not true. If the condition is false, the command or combination of commands () between else and fi will be run.
if [ <condition/test> ]
then
      <command1>
else
      <command2>
fi
If elif else
This is used to work on different conditions statements.
if [ <condition1> ]
then
      <command1>
elif [ <condition2> ]
then
      <command2>
elif [ <condition3> ]
then
      <command3>
elif [ <condition4> ]
then
      <command4>
else
      <command>
fi
Loops
For
for item in LIST #Starting for loop
do
COMMANDS #Write commands
done
Do while
while [ condition ]
do
   command1
   command2
   commandN
done
Functions
With the help of functions, we can divide a script's overall functionality into more manageable, logical sections that can be used separately as needed.
Let's look into "how to create functions". It is no way different rather than creating your normal functions.
#!/bin/zsh

# Function defining
KubeSimplify () {
   echo "KubeSimplify is the best community for DevOps"
}

# Function Calling
KubeSimplify
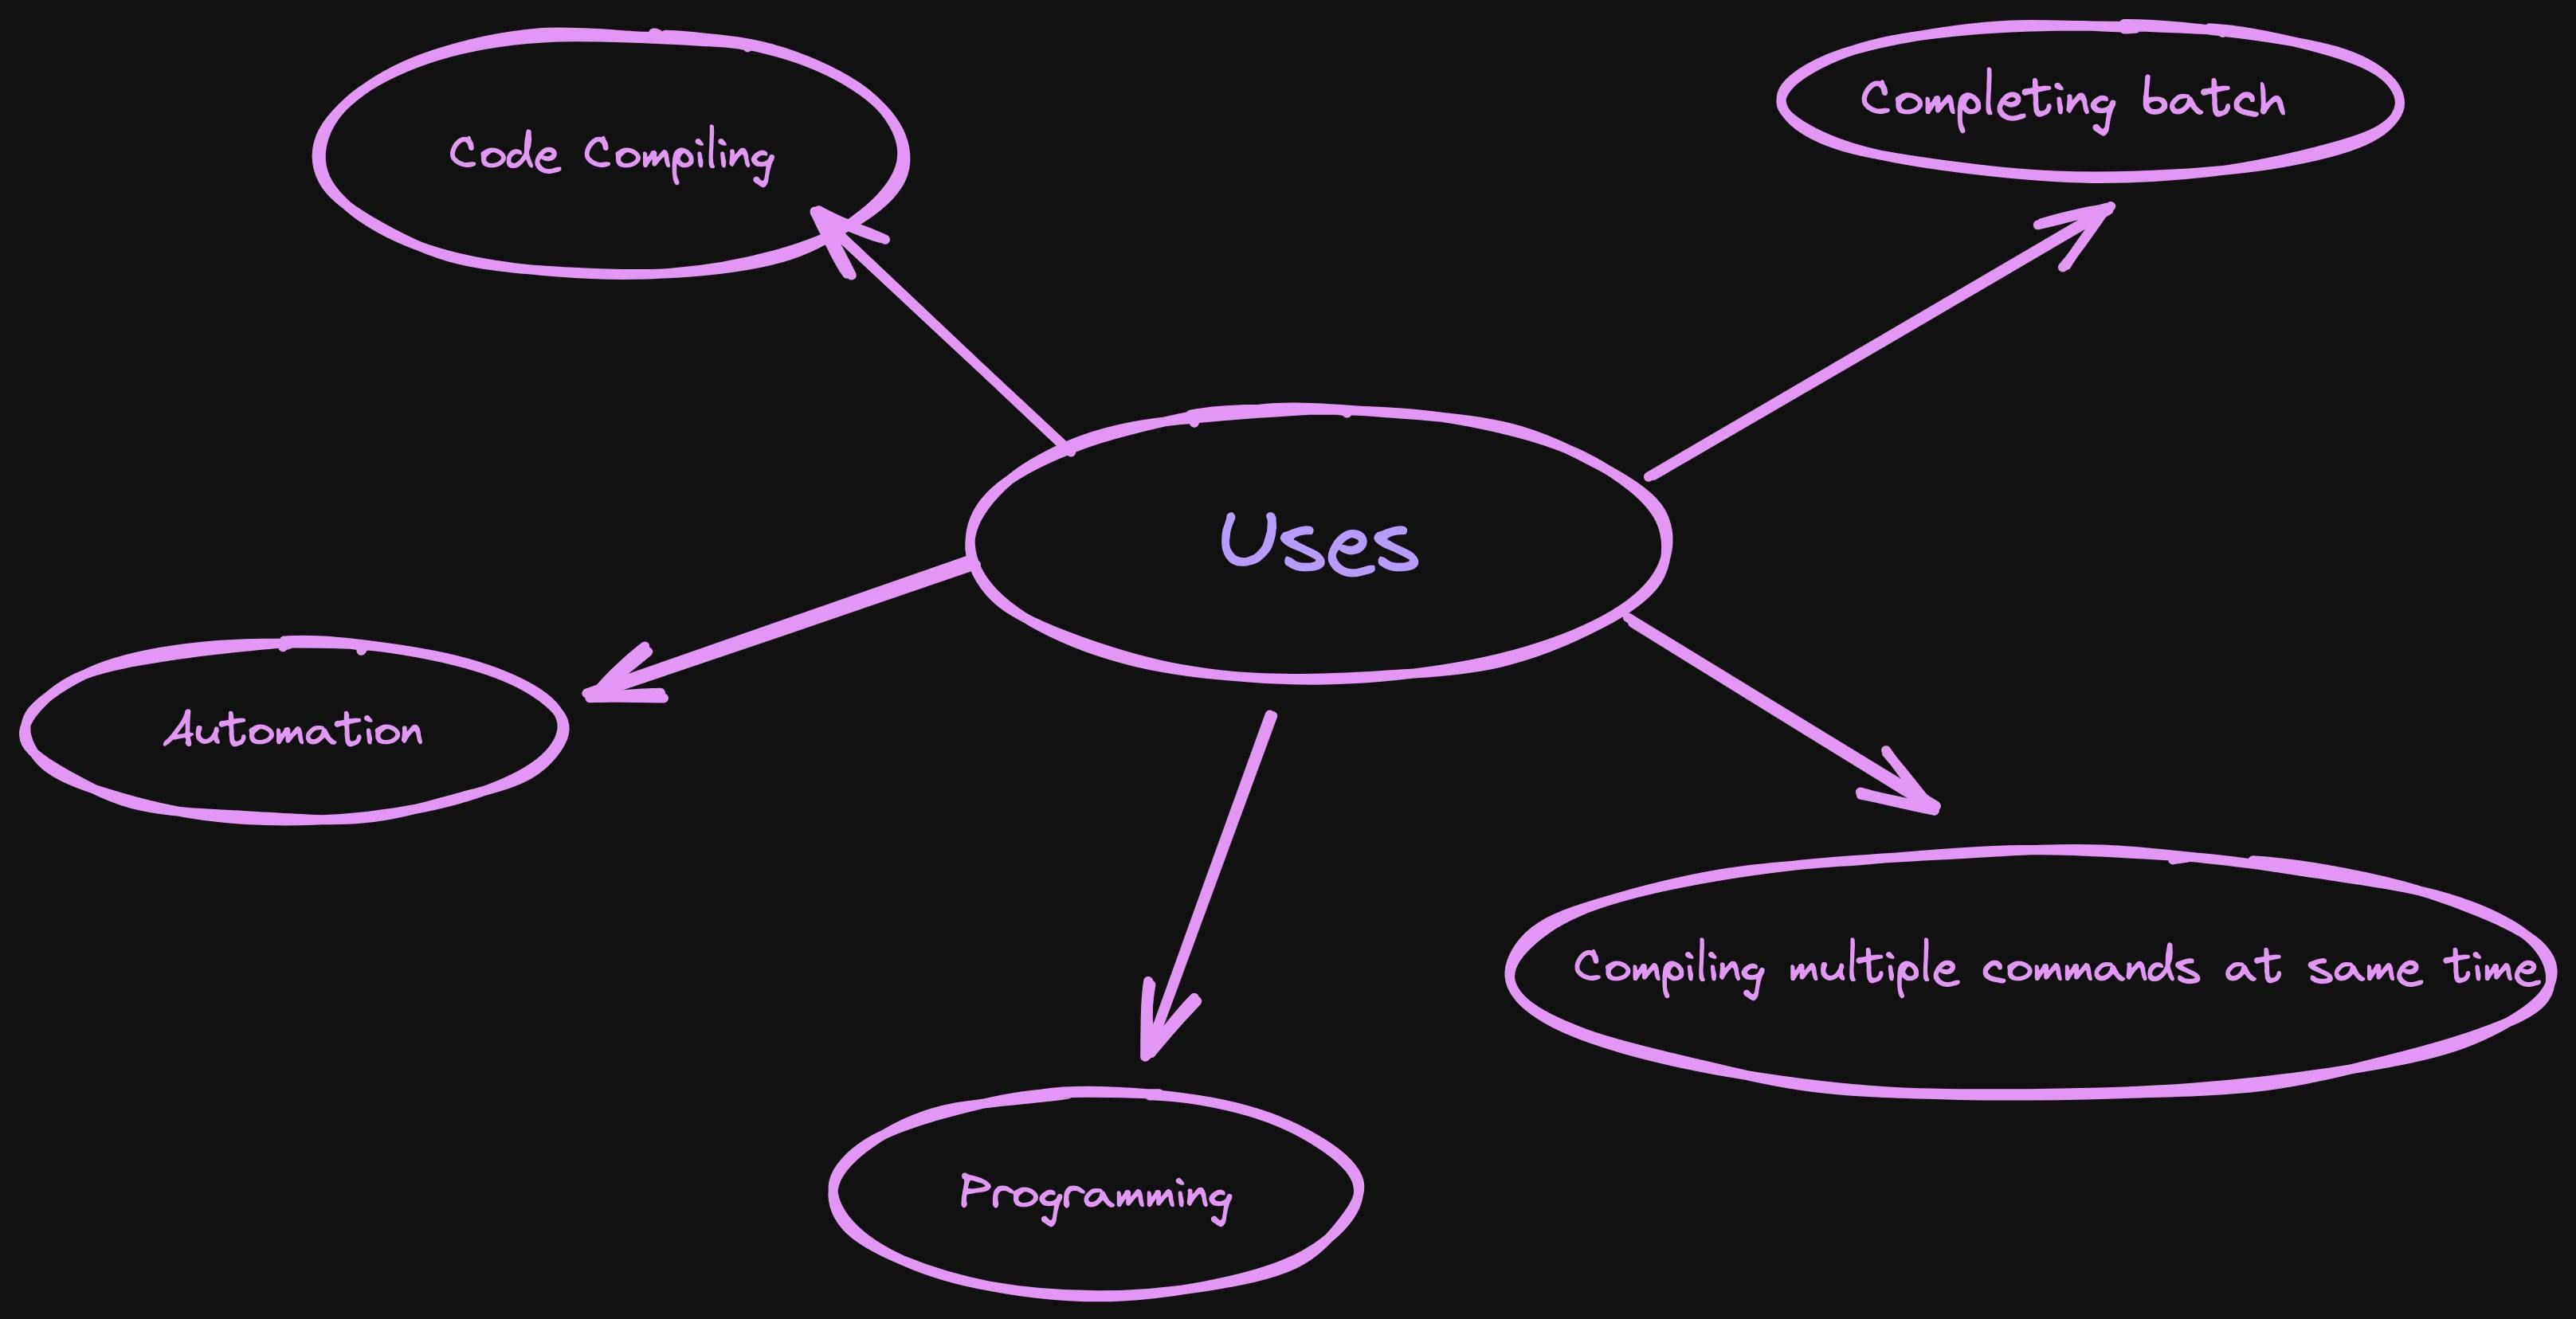
Uses

Resources
Conclusion
In this blog, we have learned about Shell Scripting. Just try some hands-on shell scripting and create some amazing scripts just to automate your tasks. To learn more about these awesome topics, follow KubeSimplify Simplify DevOps Series. Don't forget to like and share this post if you liked this blog. Connect with me on Twitter. Follow me for more such blogs.
THANKS FOR READING 😄📖!!
Follow Kubesimplify on Hashnode, Twitter and LinkedIn. Join our Discord server to learn with us.

